Biryani Rice or Biryani Chawal is a fragrant, mildly spiced rice dish that goes well with any rich vegetarian curry or dal. But don’t get it confused with a proper Vegetable Biryani, as this is just a flavorful rice sans any veggies served with raita or curries. This North Indian style Biryani Rice recipe is vegan (when made with oil) as well as gluten-free. It has been a favorite of mine since a long time and I’m sure after trying, its going to be the same with you.
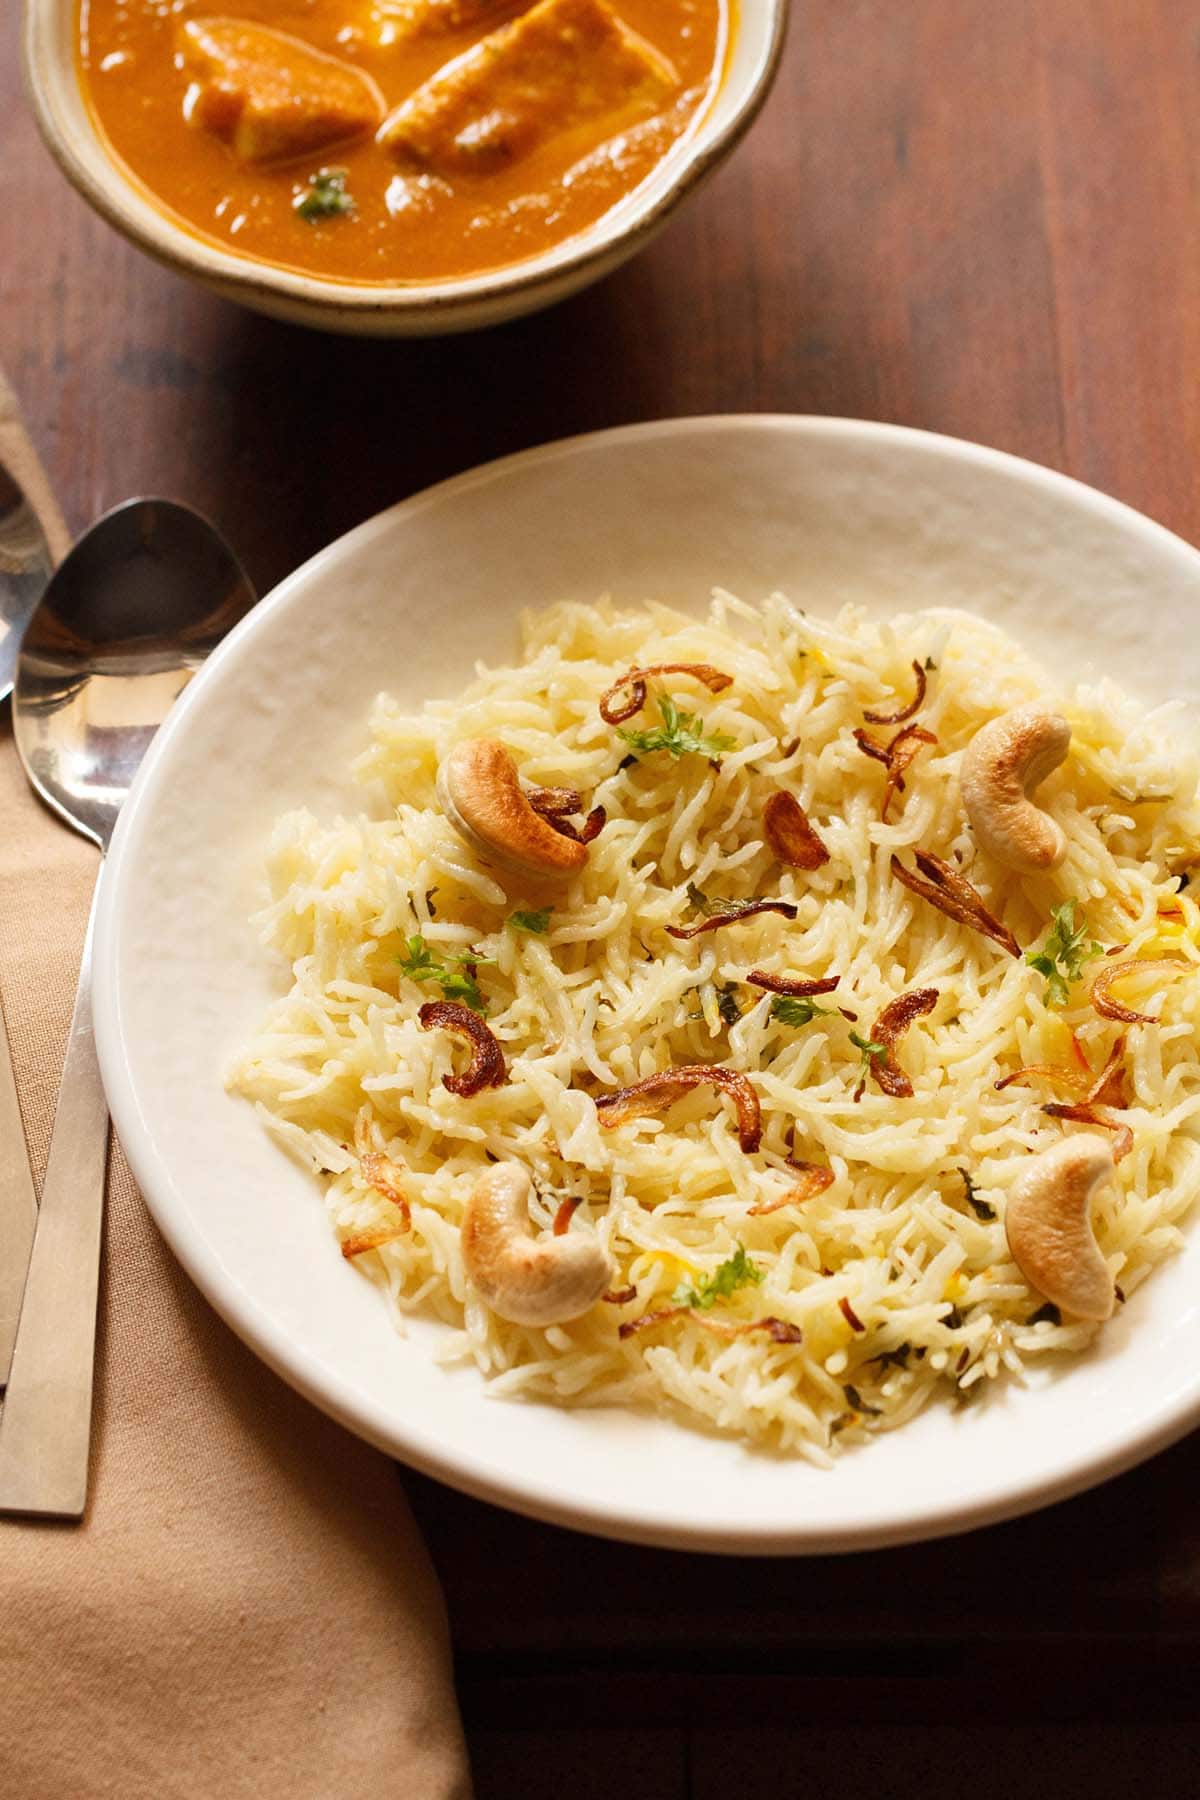
Table of Contents
What is Biryani Rice
Biryani Rice is basically a spiced rice, that is, basmati rice cooked with choicest of spices and finished with some fried onions, nuts and fresh herbs. However, there are many variations of this biryani chawal recipe.
In the Southern parts of India, a similar dish called as Kuska Rice is popular. The vegetarian version is made with or without the addition of coconut milk or yogurt (curd). This one is flavored with fragrant spices, herbs and ghee.
In addition to this, we also have the famous Jeera Rice that is loved by one and all. The difference is that the jeera rice has flavors of cumin seeds together with other spices.
On the contrary the rice grains in Biryani Rice recipe are just cooked or steamed with the aromatic spices (minus the cumin seeds) and some herbs.
About My Recipe
I remember Biryani Rice often being ordered by my parents when we would go out for dinners or parcel food for home. It was one rice dish that was always preferred.
My parents would have the rice with some chicken curry and I would have the biryani chawal with palak paneer or dal makhani, with some lemon squeezed on top. This was always my favorite combination.
After trying biryani rice at various places, I have developed a really good home version of the Biryani Rice recipe. I share a North Indian version of this rice preparation.
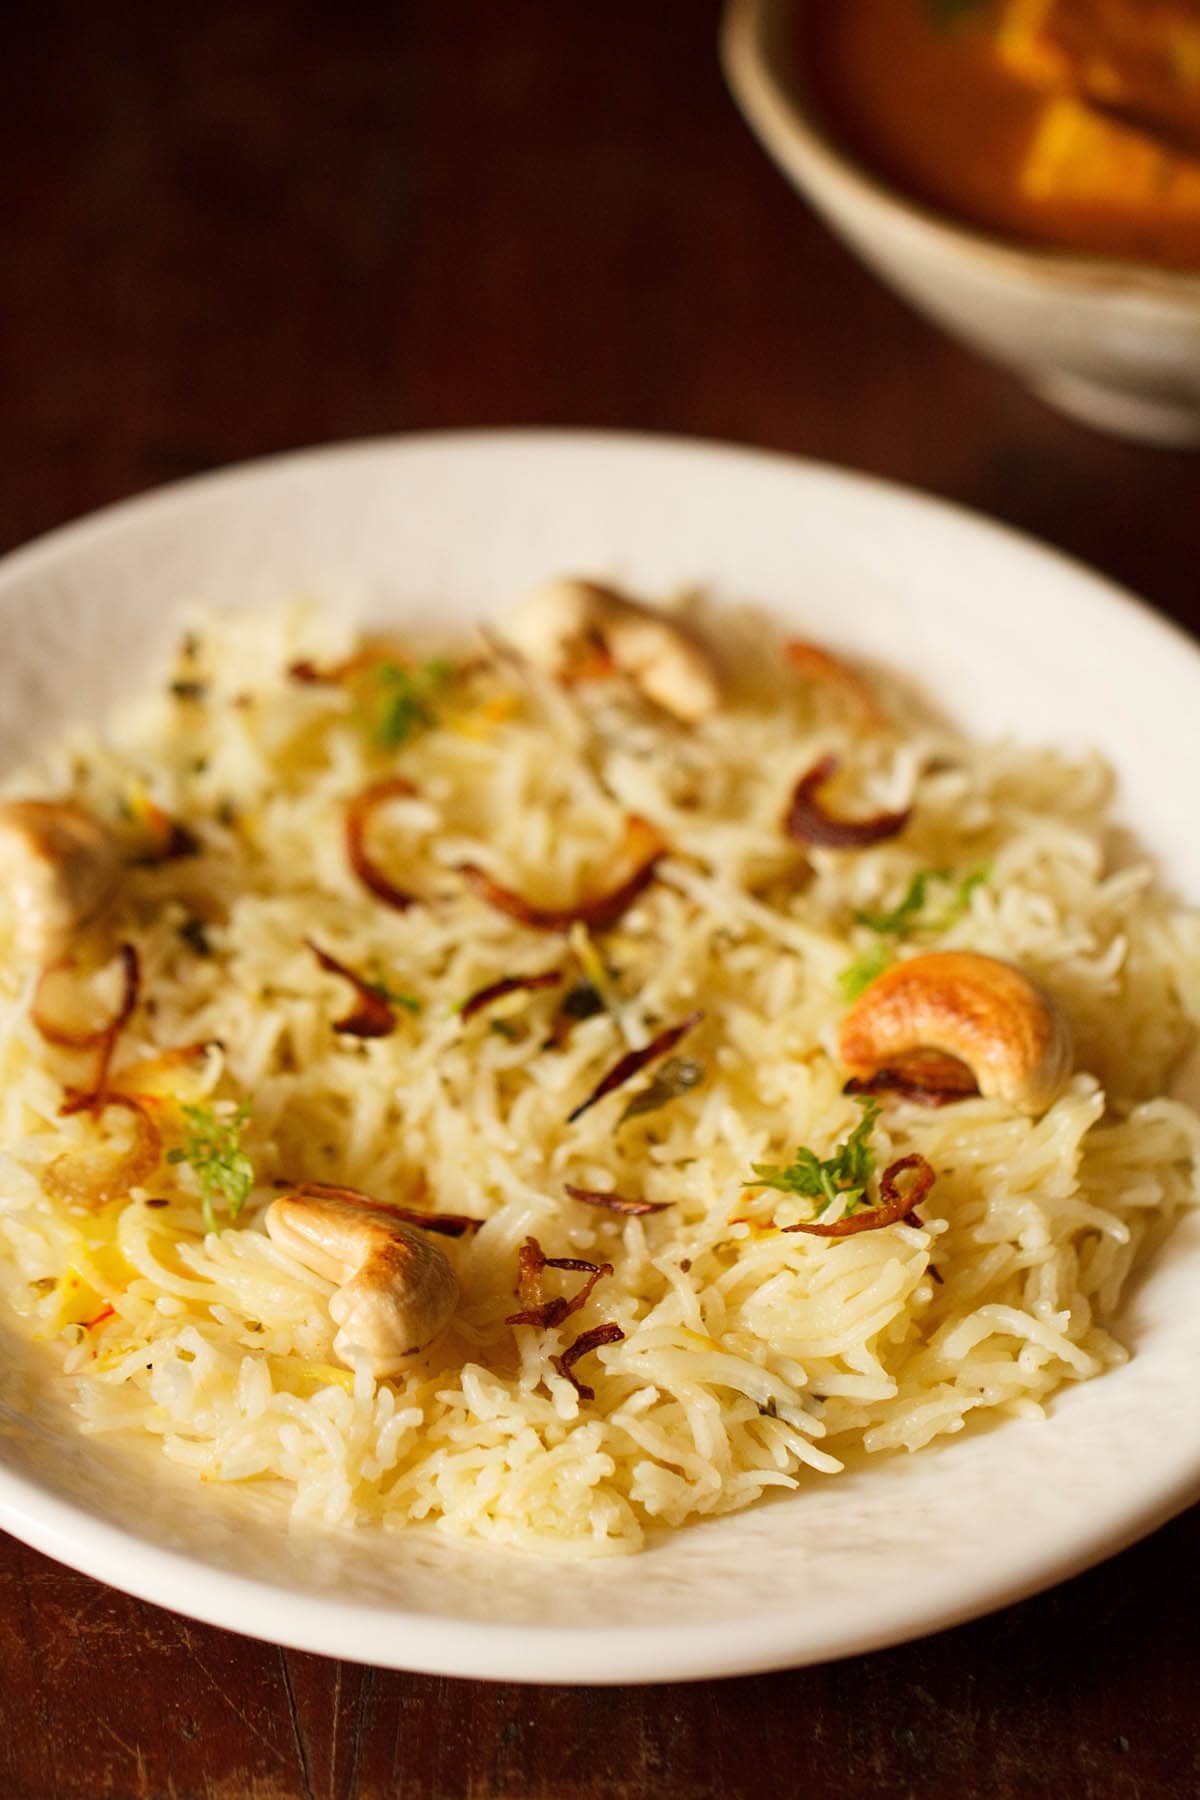
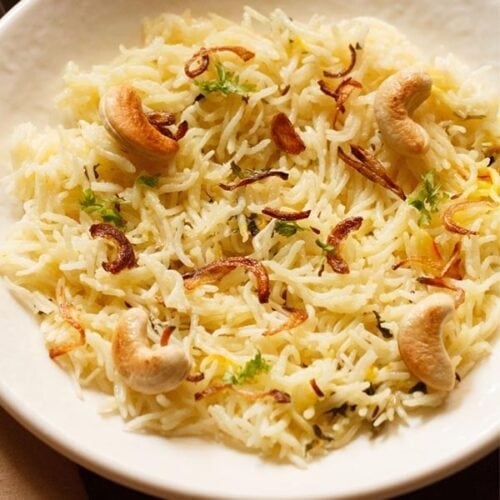
I like accentuating textures in my recipes. So, I garnish this Biryani Rice with fried onions and cashews. A slight sweet hint from the onions and crunch from the cashews makes it all the more flavorsome.
To bring in a unique color and aroma, I also add some saffron strands to the Biryani Chawal. You can use artificial yellow or orange food color as well, but I would always recommend the use of natural coloring ingredients.
This Biryani Rice is best served with any vegetarian curry like paneer butter masala, shahi paneer, malai kofta, baingan masala, bagara baingan, etc., or a homely dal tadka or dal fry.
Another way to go about serving this rice dish is with boondi raita, onion raita or a fresh kachumber to make it into a wholesome meal ‘fit for a king!’ For the best experience, make sure to end this meal with a lovely Indian dessert like gulab jamun, kulfi or falooda.
How to make Biryani Rice
Prep Rice
In the stepwise guide below, I cover making the biryani rice recipe in a stovetop pressure cooker.
Note that I have covered both the Instant Pot method and cooking the recipe in a pan on the stovetop in the notes section of the recipe card below.
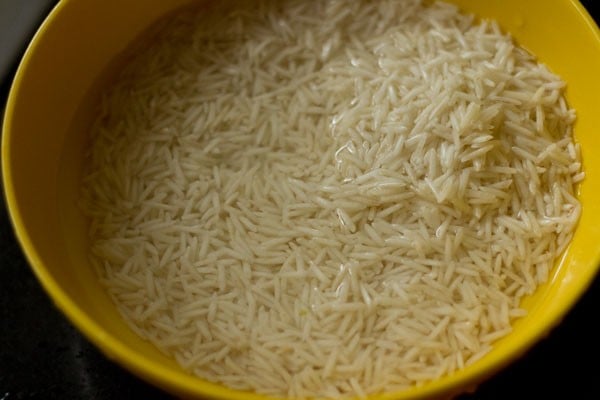
1. Rinse 1 cup basmati rice for a couple of times in water, till the water runs clear of starch. Soak the basmati rice in water for 20 to 30 minutes. Later drain and keep aside.
Fry Spices and Herbs
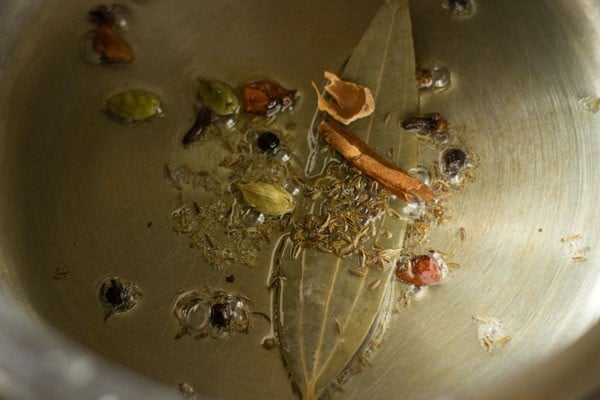
2. Heat 2 tablespoons oil (or ghee) in a 3 litre stovetop pressure cooker or a thick bottomed pan. Add the following listed spices and fry them till they splutter and become fragrant:
- ½ teaspoon caraway seeds (shahi jeera) – swap with ½ teaspoon cumin seeds instead
- 1 tej patta (Indian bay leaf)
- 3 to 4 cloves
- 4 to 5 black peppercorns
- 1 small star anise – optional
- 1 inch cinnamon
- 3 to 4 green cardamoms
- 2 to 3 single strands of mace
Use any neutral flavored oil.
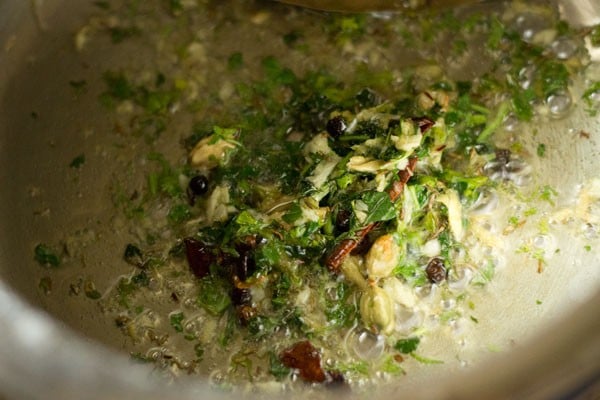
3. Now add 1 teaspoon ginger-garlic paste, 1 tablespoon chopped coriander leaves (cilantro) and 1 tablespoon chopped mint leaves.
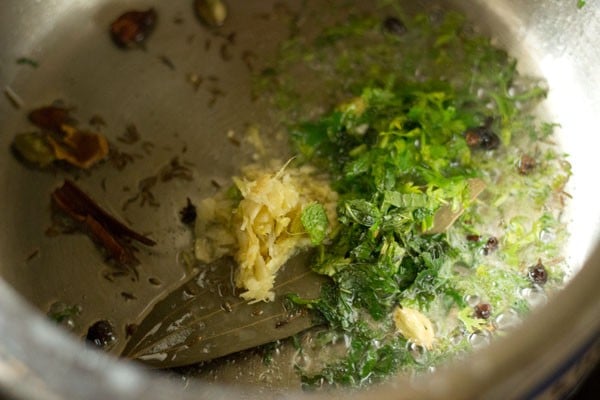
4. Stir and sauté for a few seconds until the raw aroma of ginger-garlic goes away.
Add Rice
5. Add the soaked basmati rice and 18 to 20 saffron strands.
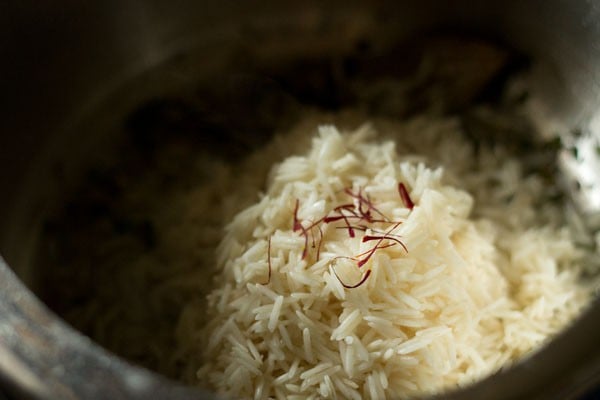
6. Stir gently and sauté for a minute.
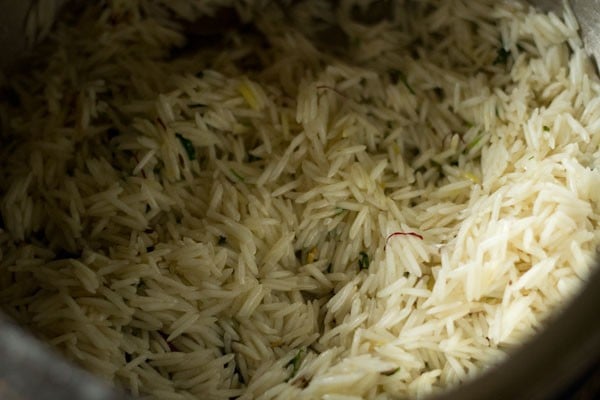
7. Add 1.5 to 1.75 cups of water or as required. For cooking in a pan, consider adding 1.75 to 2 cups of water.
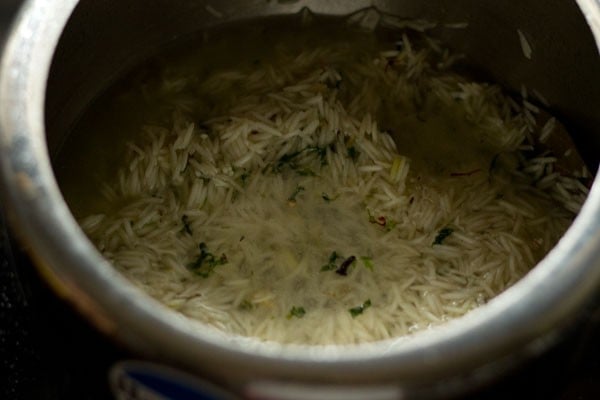
8. Stir and mix well.
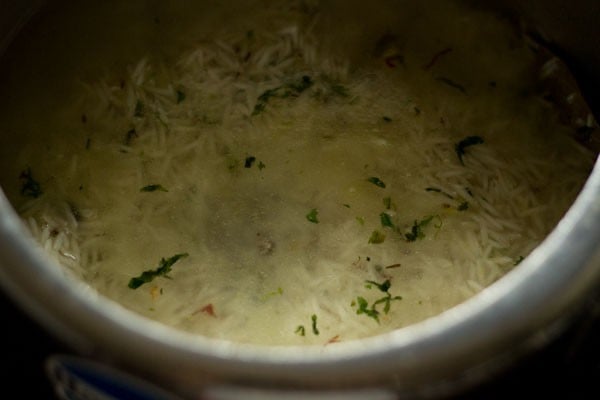
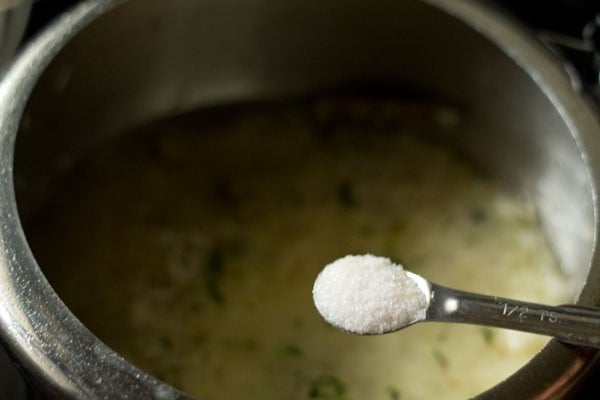
9. Season with salt as per taste.
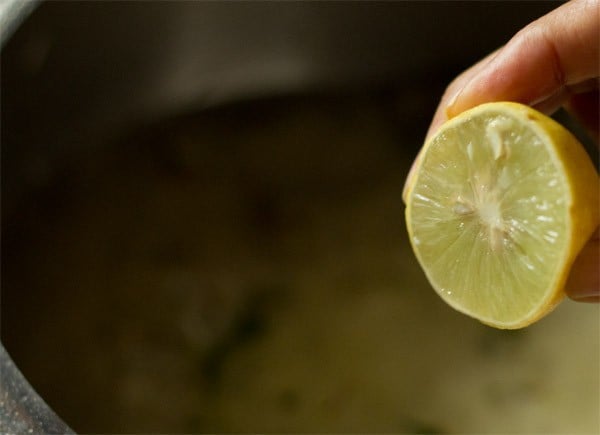
10. Squeeze 5 to 6 drops of lemon juice. Stir again.
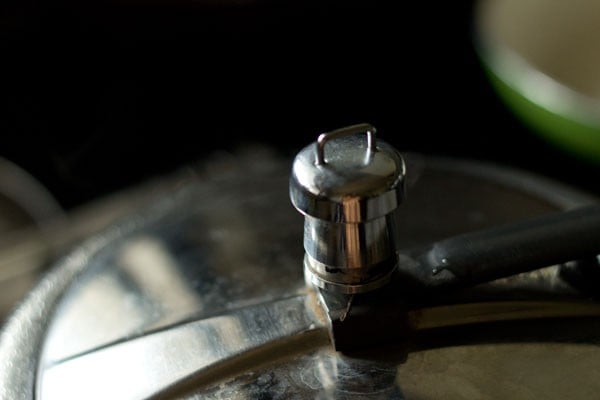
Cook Biryani Rice
11. Cover the pressure cooker tightly with its lid and pressure cook on medium to high heat for 1 to 2 whistles or for 6 to 7 minutes.
Depending on the size of the cooker, the time will vary. Thus for a 2 litre cooker, the cooking time will vary from 8 to 10 minutes. For a 3 litre cooker, it can take about 6 to 7 minutes for the rice grains to cook.
If cooking in a pan, cover tightly with a lid and simmer or medium-low or medium heat until all the water is absorbed and the rice grains have become fluffy and tender.
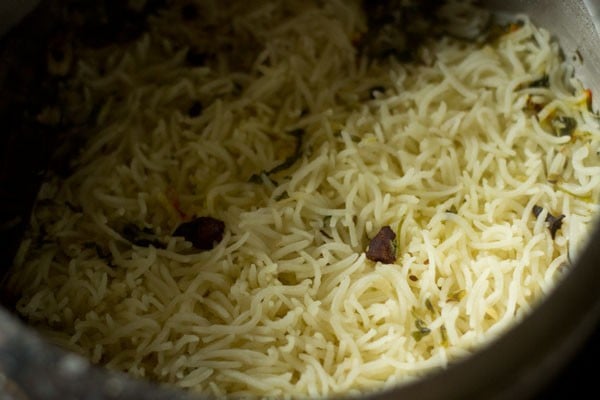
The rice grains should be cooked perfectly and yet remain separate. They should not become soft or mushy.
While cooking in a pan, you can check in between and stir gently if needed. if you feel the water is less, then simply add in required amount of hot water.
12. When the pressure falls naturally in the cooker, then only open the lid and gently fluff the cooked rice grains.
Make Garnish
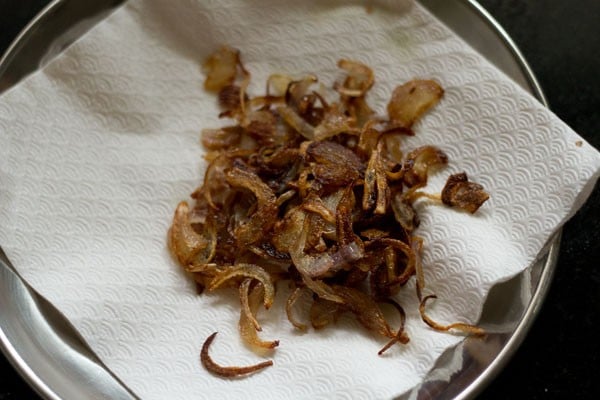
13. While the rice is cooking, prepare the garnish. This is optional. Heat 1 tablespoon oil in a small frying pan or skillet and add ⅓ cup thinly sliced onions.
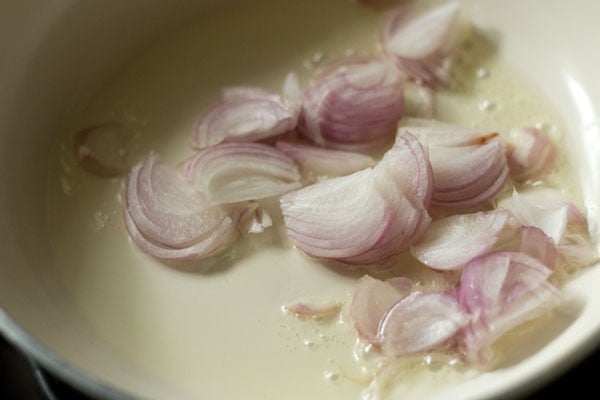
14. Stir well and sauté on a low to medium heat stirring often. Add a pinch of salt so that the onions brown quickly.
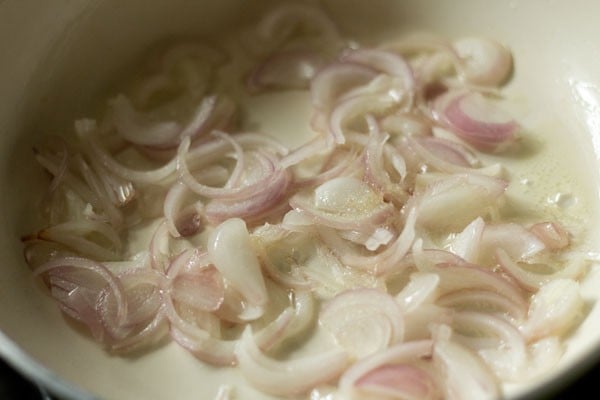
15. Sauté till the onions turn golden.
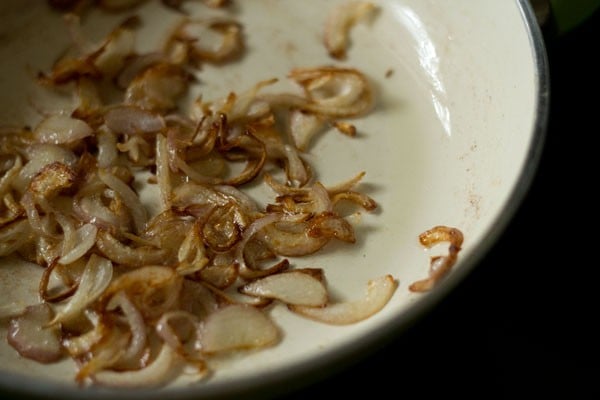
16. Remove and drain them on a kitchen paper towel so that the extra oil is soaked.
17. In the same pan, add 10 to 12 cashews.
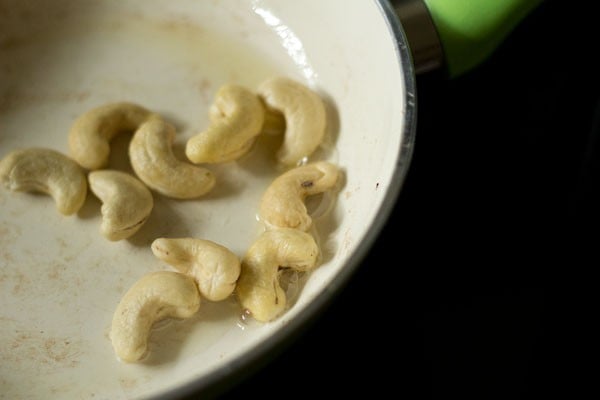
18. Sauté the cashews till golden.
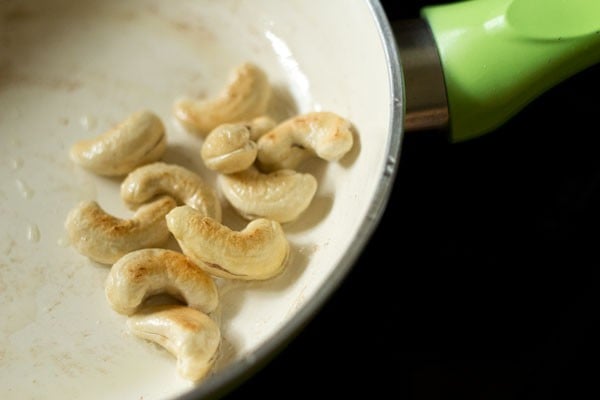
19. Remove the golden cashews and place them on a kitchen paper towel.
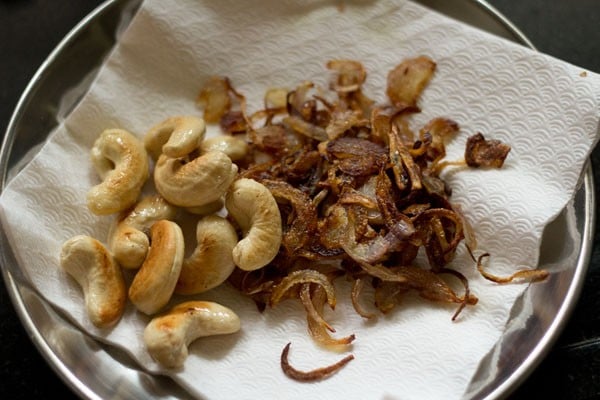
20. During serving, garnish the Biryani Rice with fried onions, cashews and chopped mint leaves or coriander leaves. Serve with raita, any curry or a dal (lentil based dish).
Expert Tips
- Make sure to use good quality aged basmati rice for this biryani rice recipe. It can also be made with parboiled basmati rice (sella basmati). When using this, make sure to soak it for 1 hour and add more water while cooking.
- While cooking the rice, you can add less or more water depending on the variety and age of the rice.
- The time to cook the rice varies depending on the size of the cooker. For a 2-liter cooker, it takes about 8 to 10 minutes. For a 3-liter cooker, it takes about 6 to 7 minutes.
- You can omit using caraway seeds and star anise. In place of caraway seeds, you can use cumin seeds. To make it a richer version, you can also add almonds, pistachios, pine nuts, etc.
- You can add turmeric powder in place of saffron to get a yellow colour. But this will not impart the aroma or flavor as that of saffron. You can also add rose water and kewra water (pandanus water) for more aroma.
- To cook the rice in a pan, cover the pan tightly with a lid after adding water, salt and lemon juice. Let the rice grains cook and soften on a medium-low to medium heat. They should be tender and yet look like separate grains. They should not look soft or mushy. Keep checking in between while the rice grains are cooking, and stir gently if required. If in case the water looks less in the pan, add hot water as needed to the rice.
- My recipe is a vegan one as I have used oil to make the biryani chawal. If you prefer you can use ghee instead of oil.
FAQs
Good quality aged basmati rice works the best for Biryani Rice. In case you have parboiled basmati rice, you can also make this dish with it. Just make sure to soak this one more and add more water accordingly while cooking.
The quantity of water varies in relation to the type and age of rice. For 1 cup presoaked basmati rice, 1.5 to 1.75 cups of water work perfectly well while cooking in a pressure cooker and 1.75 to 2 cups for cooking in a pan.
Yes, it is possible to make a vegan Biryani Rice. For this, you substitute the ghee with any neutral oil. Yes, this recipe is gluten-free.
Yes, you can make this dish without star anise and caraway seeds too. You can use cumin seeds (jeera) in place of caraway seeds and skip the star anise altogether.
More Rice Recipes To Try!
Rice Recipes
Rice Recipes
Rice Recipes
Please be sure to rate the recipe in the recipe card or leave a comment below if you have made it. For more vegetarian inspirations, Sign Up for my emails or follow me on Instagram, Youtube, Facebook, Pinterest or Twitter.
Biryani Rice Recipe
Ingredients
Main ingredients
- 1 cup basmati rice – 200 grams
- 1.5 to 1.75 cups water or add as required
- 2 tablespoons oil (any neutral flavored oil) or ghee (clarified butter)
- 1 tej patta (Indian bay leaf), medium-sized
- 3 to 4 cloves
- 4 to 5 black peppercorns
- 1 star anise (small-sized) – optional
- 1 inch cinnamon
- 3 to 4 green cardamoms
- 2 to 3 single strands of mace
- ½ teaspoon caraway seeds (shahi jeera) – swap with cumin seeds instead
- 1 teaspoon Ginger Garlic Paste or 3 to 4 garlic cloves + 1 inch ginger – crushed to a paste in mortar-pestle
- 1 tablespoon chopped coriander leaves (cilantro)
- 1 tablespoon chopped mint leaves
- 18 to 20 saffron strands
- 5 to 6 drops lemon juice
- salt as required
For garnish
- ⅓ cup thinly sliced onions or 1 medium-sized onion
- 10 to 12 cashews
- 1 tablespoon oil
- 1 to 2 tablespoons chopped mint leaves or chopped coriander leaves
Instructions
Soaking rice
- Rinse the basmati rice for a couple of times in water.
- Soak the basmati rice in water for 20 to 30 minutes. Later drain the water and set the soaked rice grains aside.
Sautéing spices, herbs and rice
- Heat oil or ghee in a 3 litre pressure cooker.
- Add the caraway seeds along with the whole spices and sauté them till fragrant.
- Now add the ginger-garlic paste, chopped coriander and mint leaves.
- Sauté for a few seconds till the raw aroma of ginger-garlic goes away.
- Then add the soaked rice and saffron strands. Stir gently.
- Now add 1.5 to 1.75 cups water, 5 to 6 drops of lemon juice and salt. Mix well.
Cooking biryani rice
- Pressure cook for 1 to 2 whistles or for 6 to 7 minutes. If you have used a 2 litre pressure cooker, it will take more time to cook – about 8 to 10 minutes.
- Let the pressure fall naturally in the cooker and then only open the lid.
- If cooking in a pan, then cover the pan tightly with a lid. Cook rice till the grains are tender and all the water has been absorbed.
- The rice grains should be cooked well and yet remain separate. They should not become soft or mushy.
- While cooking in a pan, check in between and if needed stir gently. If you feel the water is less in the pan, then add the required amount of hot water.Cover with a lid again and let the rice grains cook till all the water is absorbed and the rice grains have softened and cooked perfectly.
Preparing garnish
- While the rice is cooking, heat oil in a small frying pan or skillet. Add the sliced onions. Stirring often sauté the onions until they become golden on a low to medium-low heat.
- Add a pinch of salt so that the onions brown quickly.
- Remove and drain the caramelized onions on kitchen paper so that the extra oil is soaked.
- In the same pan, roast or toast the cashews till golden.
- While serving, garnish the Biryani Rice with fried onions, cashews, coriander or mint leaves.
- You can serve Biryani Rice with raita, any rich vegetarian curry or dal as well.
Notes
Ingredient Notes and Swaps
- Rice: Biryani rice is always made with basmati rice. Aged basmati rice gives the best taste and texture. Use a good quality and a trustworthy brand of aged basmati rice. With parboiled basmati rice (sella basmati) too, this biryani rice tastes good. Soak parboiled basmati rice for an hour and add some more water as needed when cooking.
- Spices: To get the perfect aroma, flavor and taste, I would suggest using all whole spices. However, you can omit star anise and caraway seeds if you do not have these. You can include cumin seeds in place of caraway seeds.
- Vegetarian substitutes: Make the dish with ghee instead of oil.
- Nuts: Replace cashews with almonds, pistachios, pine nuts or use a combination of these nuts for a rich version.
- Saffron: If you do not have saffron strands, for the light yellow color, you can add a generous pinch of turmeric powder. But note that the delicate flavor and aroma of saffron will be missing from the dish. You could add about 1 to 2 teaspoons of rose water or kewra water (pandanus water) for a lovely fragrant aroma.
Cooking Notes
- Water proportion: The quantity of water will vary in relation to the variety and age of rice. For 1 cup of basmati rice, 1.5 to 1.75 cups of water works perfectly when cooking in a pressure cooker and 2 cups for cooking in a pan.
- Soaking rice: It always helps to soak rice grains prior to cooking. Soaking not only makes the rice grains fluffier but also reduces the cooking time. You can soak rice grains for 20 to 30 minutes. If short of time, then you may need to add some more water, about 2 to 2.25 cups to the un-soaked rice while cooking in the pressure cooker.
- Rinsing rice: For fluffy, separate, non-sticky rice grains, rinse the rice grains thoroughly until the water is clear of starch.
Instant Pot Biryani Rice
- To make biryani rice in your instant pot, follow the sautéing instructions of the spices, herbs and rice in the steel insert of your IP using the sauté function.
- Add 1.5 cups of water and mix in the salt and lemon juice. Seal with the IP lid with the pressure valve positioned to the sealing position.
- Pressure cook on high pressure for 5 minutes. After hearing the beep sound when the pressure cooking is complete, wait for 10 minutes and then do a quick pressure release. When all the pressure is released, remove the lid and fluff the rice. Serve hot with the prepared garnishes.
Cooking in a pan (stove-top)
- For making biryani rice in a pan, sauté the spices, herbs and rice in a heavy thick bottomed pan or pot on low to medium-low heat.
- Add 2 cups water and mix salt. Cover and simmer on a low to medium-low heat until the rice grains are tender and fluffy.
- Keep a check when the rice grains are simmering. If needed, you can add some hot water if the water has dried up or the rice grains are undercooked.
- Once cooked, fluff the rice and serve hot.
Nutrition Info (Approximate Values)
This Biryani Rice recipe post from the archives first published in May 2013 has been republished and updated on April 2022.





thank you so much for helping us, it is really easy tips.
welcome
Very awesome…..nice
Decorative…
thanks rajeshwari 🙂
I prepared this today with veg kadai. It turned out awesome. Keep going. Let’s have a good meal.
thankyou sushma 🙂