Serving accompaniments/condiments with meals is a customary practice in India. Out of the range of such side dishes, Raita is one of the most common ones. Typically, it is a thick, mildly spiced and creamy curd (yogurt) based sauce that complements the various flavors and textures in a rich Indian meal. Burani Raita, a specialty from Hyderabadi cuisine is a quick delish variation that literally gets done in a jiffy. Also referred to as Boorani or Burhani raita, it is the quintessential side to royal flavorful biryanis.
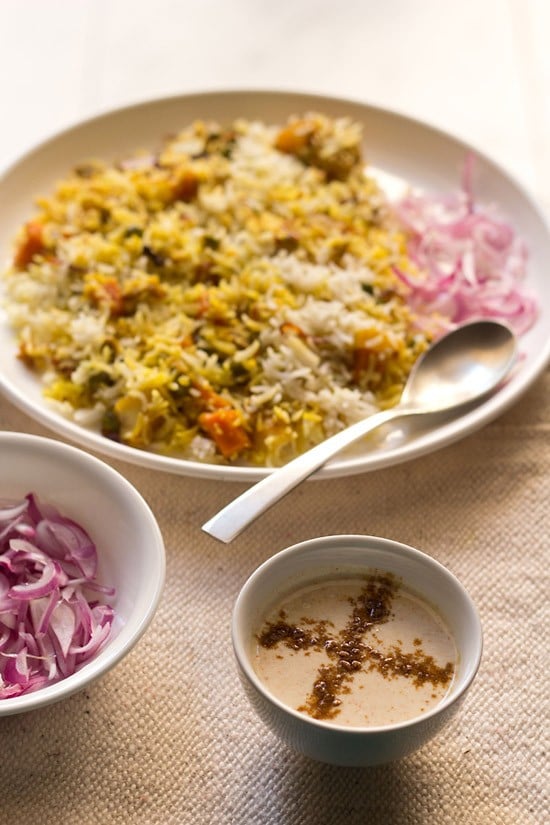
Table of Contents
About Burani Raita
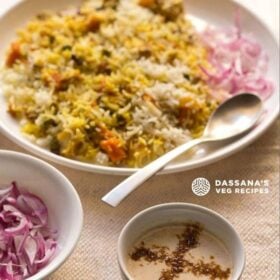
If you think that it is the rich, fragrant and robust Veg Biryani that defines Hyderabadi cuisine, wait, till you actually have the Burani Raita. Because a Hyderabadi biryani experience is never really complete without teaming the rice dish with the burhani raita or a simple Onion Raita and a Mirchi Ka Salan too.
Yes, you can actually call the Burani Raita as the perfect companion of the Hyderabadi style biryani. And why and how is this particular raita different than the others? It is because the specialty of a boorani raita is the addition of raw garlic to the whisked smooth curd or yogurt.
Do not like the raw taste and pungent aroma of garlic? Simply sauté garlic in oil or ghee to add to your Burani Raita. Sautéing mellows the pungent flavors of the garlic. Once this is done, roasted cumin powder, red chilli powder and salt are added to the blend and finished with a final mix.
Super simple, easy and quick, isn’t it? For the chili powder, you can also use the unique yellow chili powder as an alternative to the red chili powder. To make a vegan version, use cashew yogurt, coconut yogurt or almond yogurt instead.
In addition to the biryani, the Burani Raita tastes best with the simple, yet fragrant and delicious Veg Pulao too. You can even serve it as a side dish with any other Mughlai or North Indian vegetable dish/sabzi and roti or paratha combination.
How to make Burani Raita
Prep Ingredients
1. Measure and keep all the ingredients ready for making Burani Raita. You need minimal ingredients and spices to make this one.
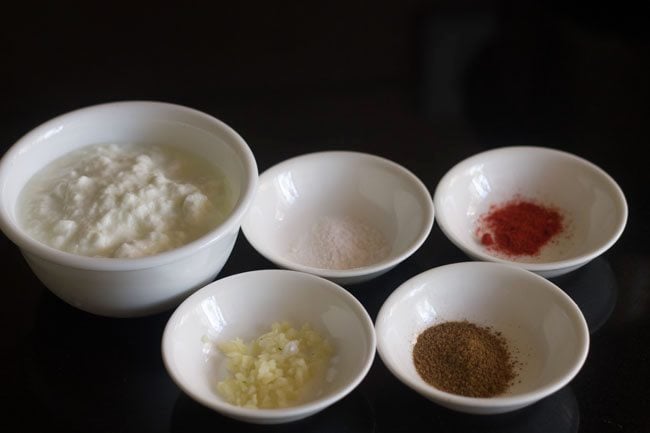
2. Take 1 cup full fat curd (yogurt or dahi) in a bowl. With a wired whisk begin to beat the curd. For best tasting creamy raita, I suggest to use Homemade Curd.
Tip: The curd should be freshly made or a fresh stock, if using packaged one. Do not use sour curd.
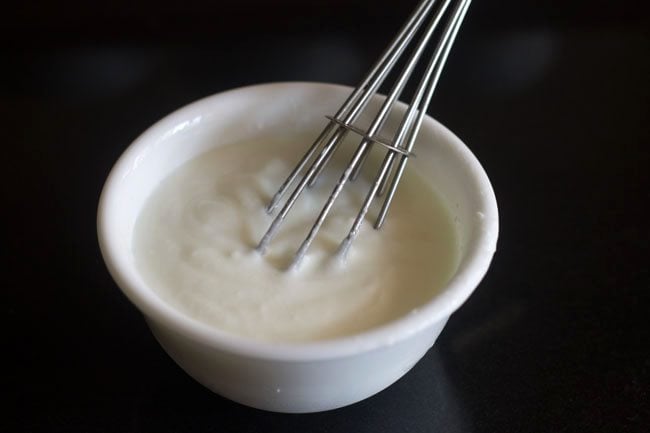
3. Whisk the curd till smooth.
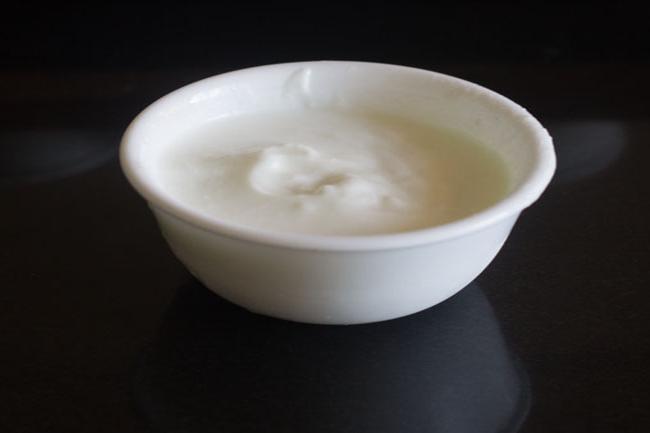
Make Burani Raita
4. Crush or mince 1 to 2 small to medium-size peeled garlic cloves. Add to the whisked curd.
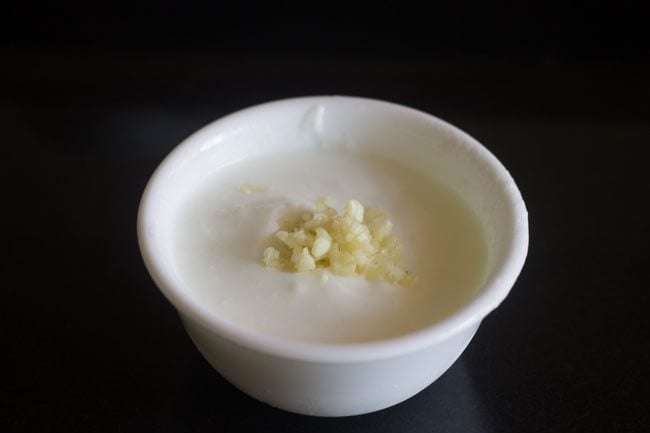
5. Mix well.
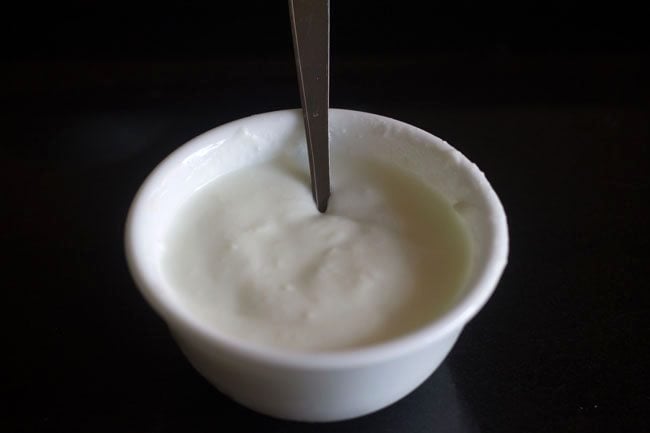
6. Add ¼ teaspoon red chilli powder (or yellow chilli powder), ¼ teaspoon roasted cumin powder and salt as required.
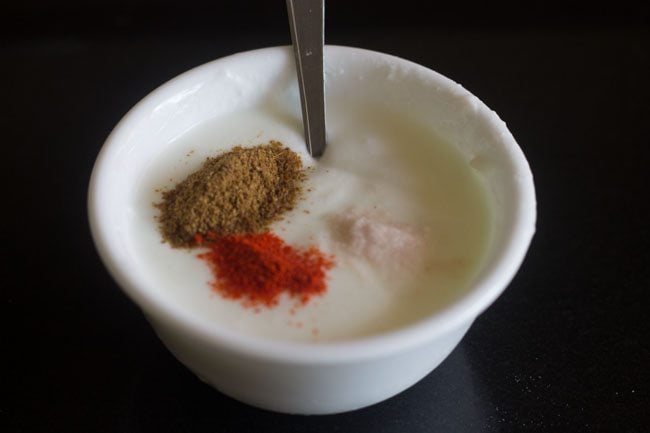
7. Mix again.
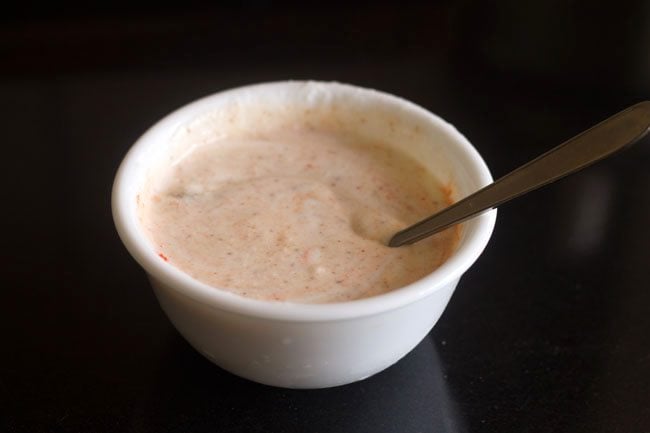
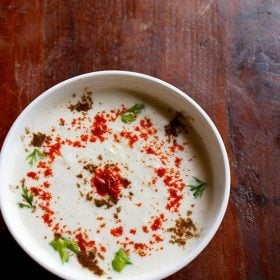
8. The raita is ready. While serving it, you can garnish with a light sprinkle of roasted cumin powder and red chilli powder.
For some fresh flavors, opt to sprinkle some chopped coriander leaves or mint leaves as a garnish, while serving.
If not serving immediately, then refrigerate the Burhani Raita.
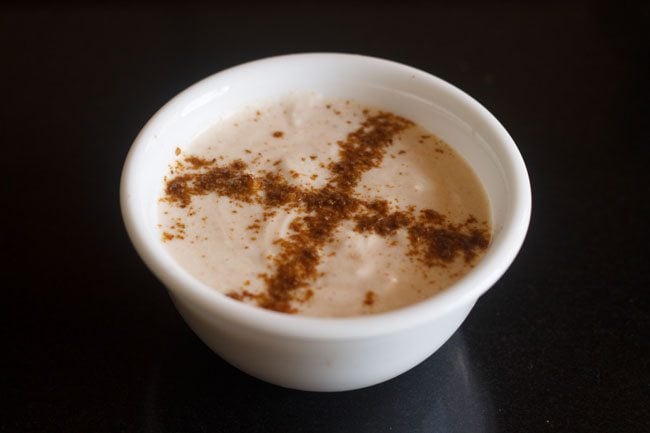
9. Serve Burani Raita cold or immediately with biryani, pulao or any Indian meal. You can also eat it with any stuffed paratha like aloo paratha, gobi paratha or mooli paratha.
Consume on the same day or at the most, you can store it for one day in the refrigerator, if you have any leftovers.
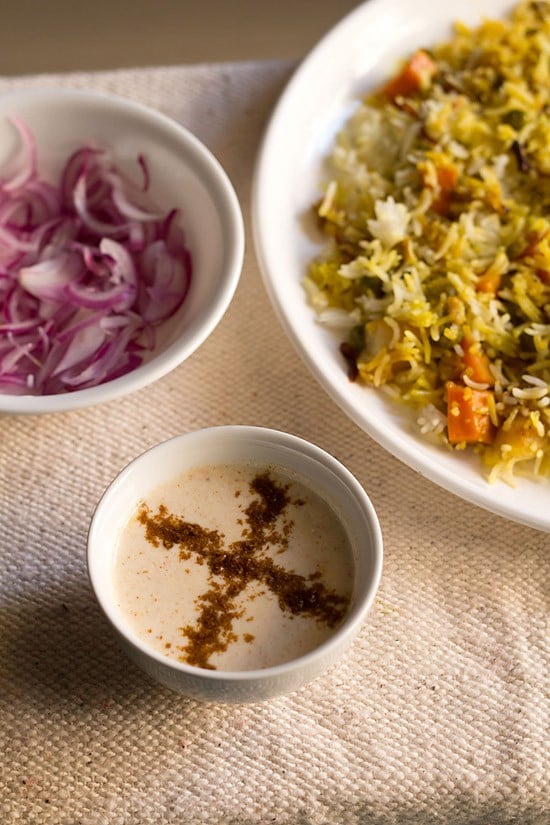
About Raita
Raita is one of those Indian side dishes that is super popular and loved by all. Like I said earlier, it is a sauce condiment with curd or yogurt as the primary ingredient or base. This is usually whisked, smoothened and then seasoned and flavored with spices, other ingredients or both.
The typical flavorings of a raita include various herbs, spices, spice powders, fruits, veggies, pulses, boondi, etc. Some super common variations are Veg Raita, Boondi Raita, Pineapple Raita whereas the Burani Raita, bathua raita, etc. may fall in the category of unusual ones.
Not just in India, many versions of raita are actually a part of many other western cuisines of the world. For instance, there’s ‘chukauni’ in Nepalese cuisine and ‘tzatziki’ in Middle Eastern cuisine. Traditional South Indian yogurt based ‘pachadis’ are also a type of raita.
Expert Tips
- Curd: For best tasting creamy raita, make it with full-fat curd made of whole milk. That being said, you can make it with toned milk or low-fat yogurt too. Also, using fresh homemade curd is the most apt thing to do. Do not use sour curd.
- Garlic: There’s a slight pungency from the raw garlic in this raita. If you do not prefer this, then sauté the garlic in 1 to 2 teaspoons of oil for a few seconds and then add to the curd.
- Chili powder: The chili powder that we use here is simply ground dried red chilies. You can substitute it with cayenne pepper or paprika. Yellow chili powder made from dried yellow chilies also works well in this recipe.
- Cumin powder: The roasted cumin powder has a different aroma than unroasted cumin powder. If you do not have roasted cumin powder, then make your own by dry roasting some cumin seeds in a skillet or pan till fragrant. Add to a spice grinder to make a fine powder. Store in an air-tight jar in a cool dry place.
- Herbs: Though I have not added any herbs in this recipe, fresh coriander leaves and fresh mint leaves really bring in a freshness to the raita.
- Serving: You can garnish the Burani Raita with some roasted cumin powder and red chili powder while serving too. Serve it with biryani, pulao, aloo, gobi or mooli paratha or any Indian meal.
- Storage: Ideally, you should consume the raita immediately or on the same day. If not or if you have any leftovers, you can refrigerate the raita and consume within one day.
More Raita Recipes To Try!
Raita Recipes
Raita Recipes
Raita Recipes
Raita Recipes
Please be sure to rate the recipe in the recipe card or leave a comment below if you have made it. For more vegetarian inspirations, Sign Up for my emails or follow me on Instagram, Youtube, Facebook, Pinterest or Twitter.
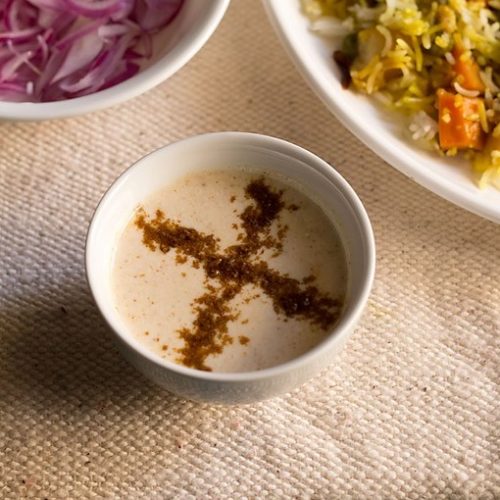
Burani Raita | Hyderabadi Burhani Raita
Ingredients
- 1 cup Curd (yogurt), cold or at room temperature
- 1 or 2 garlic cloves (small to medium-sized), peeled and crushed finely or minced
- ¼ teaspoon red chili powder or yellow chili powder
- ¼ teaspoon roasted cumin powder
- salt as required
Instructions
- With a wired whisk whip the curd (yogurt) until smooth.
- Crush the peeled garlic or mince them and add to the yogurt.
- Add the red chili powder, roasted cumin powder and salt. Mix well.
- While serving, you can sprinkle a bit of roasted cumin powder and red chili powder.
- Serve Burani Raita chilled or immediately with biryani, pulao or any Indian meal. While serving you can garnish the raita with mint or coriander leaves.Consume on the same day or at the most, you can store it for one day in the fridge, if you have any leftovers.
Notes
- Garlic: There is a bit of the pungent garlic flavor in this raita. If you do not prefer this, then sauté the garlic in 1 teaspoon of oil for a few seconds and add.
- Curd: For best tasting creamy raita, make it with full fat curd made from whole milk. But you can make it with toned milk or low fat yogurt.
- Chili powder: The chili powder that we include here is simply ground dried red chillies. Sub cayenne pepper or paprika for red chilli powder. Yellow chilli powder that is made from dried yellow chillies also work well here.
- Cumin powder: Roasted cumin powder has a different aroma than unroasted cumin powder. If you do not have roasted cumin powder, then make your own by roasting/toasting some cumin seeds in a skillet or pan. Roast them until fragrant. Add to a spice grinder to make a fine powder. Store in an air-tight jar in a cool dry place.
- Herbs: Coriander leaves or mint leaves add some freshness to the raita and taste good.
Nutrition Info (Approximate Values)
This Burani Raita recipe post from the archives first published in April 2014 has been republished and updated on November 2022.


Can we add cucumber and tomato too in this raita or will the garlic not go with cucumber n tomato? Thanks in advance.
Welcome Harry. You can add cucumber and tomato.
Thank you for this recipe! Your recipes are absolutely foolproof and this one brings in nice-subtle flavours of garlic in the raita 🙂
pleased to know this nirupama 🙂 thankyou for your positive and kind words.