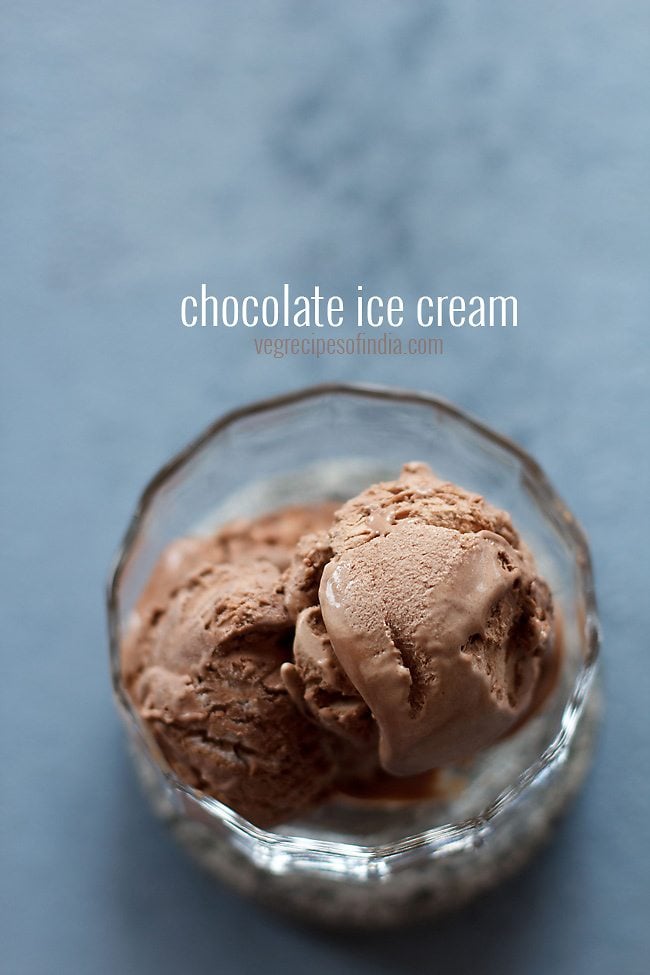
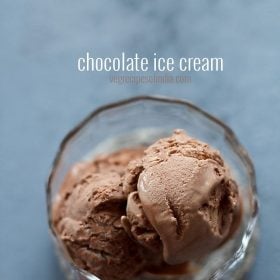
Come summers, come the time for ice creams! And it’s not “I scream, you scream, we all scream for ice cream,” but much more than that when its specially the Chocolate Ice Cream. This is just that easy-peasy, fuss-free, creamy, smooth and scrumptious Chocolate Ice Cream recipe that you must give a try at home.
About Chocolate Ice Cream
I had been getting recipe requests for adding ice creams since a long time. So, I worked on a few of them and to be honest, this Chocolate Ice Cream recipe was a personal favorite. Not just that, even at home everyone loves it.
This Chocolate Ice Cream does not need a special ice cream maker and gets done without getting whipped twice or thrice. Just make once, freeze and then enjoy. A similar ice cream is this Chocolate Chip Ice Cream.
That’s really saving sometime for you and the best part is you can dive right into a decadent yet gluten-free bowl of ice cream, much faster!
Another good thing about this Chocolate Ice Cream is that this recipe does not form any ice crystals while setting. Prepare and serve this ice cream whenever required.
This Chocolate Ice Cream recipe yields a large block which you can use to make gorgeous sundaes or sinful desserts too.
How to make Chocolate Ice Cream
Make Chocolate Mixture
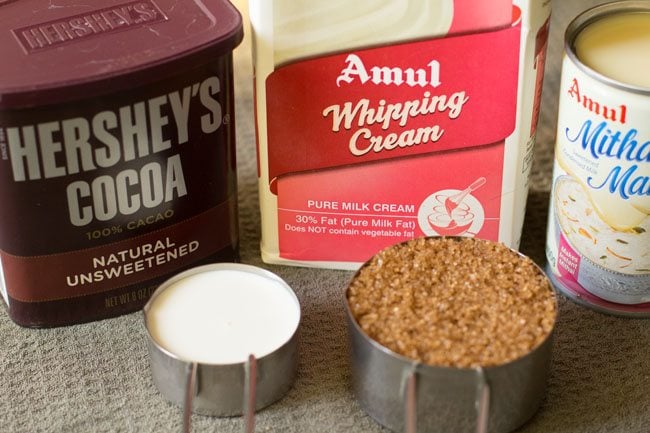
1. First, take all the ingredients listed below:
- 2 to 2.25 cups whipping cream (30% to 50% fat)
- ¼ cup whole milk
- ½ cup cocoa powder
- ½ cup sweetened condensed milk
- ½ cup tightly packed brown sugar – note that you can opt to use regular sugar or equal portions of both regular sugar and brown sugar.
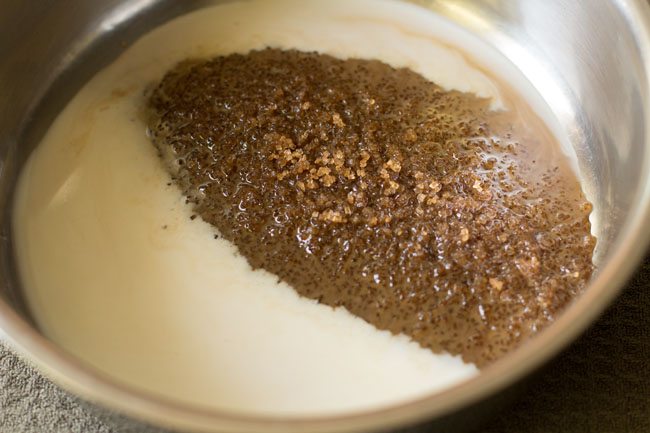
2. Now, take ¼ cup of the milk in a pan and add ½ cup tightly packed brown sugar. Remember to use whole milk or else the milk may separate or curdle.
3. Keep this pan on a stovetop on low heat and with a whisk or spoon, stir continuously till the sugar dissolves.
Note: Do not boil or heat this mixture too much as this may lead to curdling or separating of the milk.
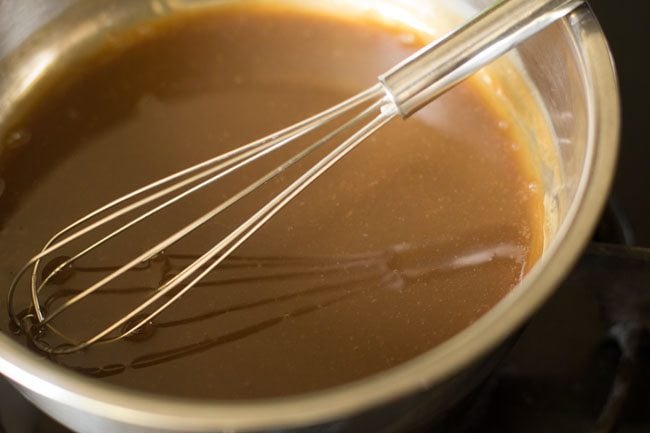
4. Once all the sugar is dissolved, keep the pan on the kitchen counter-top.
Remember not to boil or heat the milk too much. Once all the sugar is dissolved remove the pan from the stove-top and set aside.
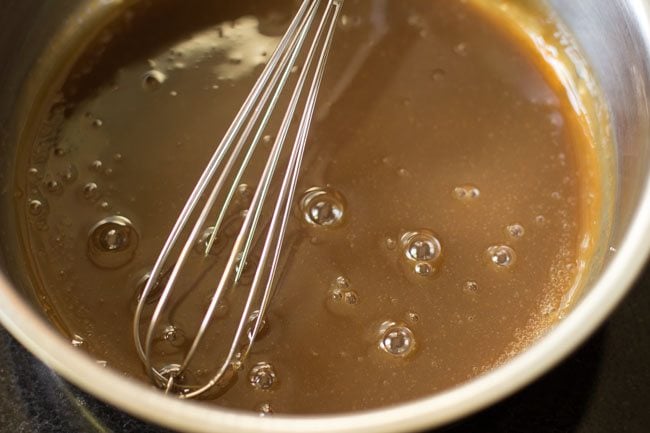
5. Add ½ cup cocoa powder.
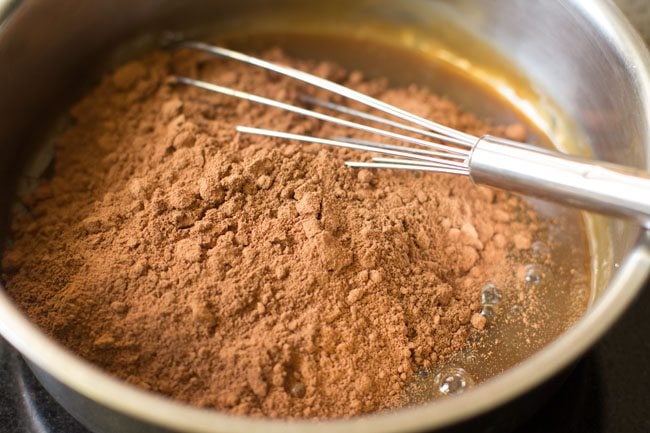
6. Mix very well.
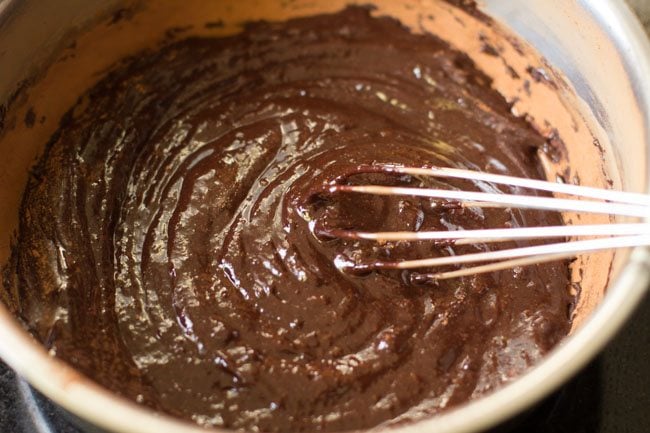
7. Add the ½ cup sweetened condensed milk.
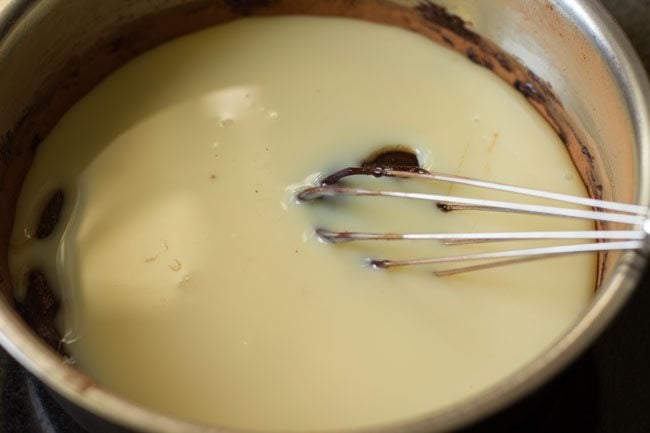
8. Add 1 teaspoon vanilla extract.
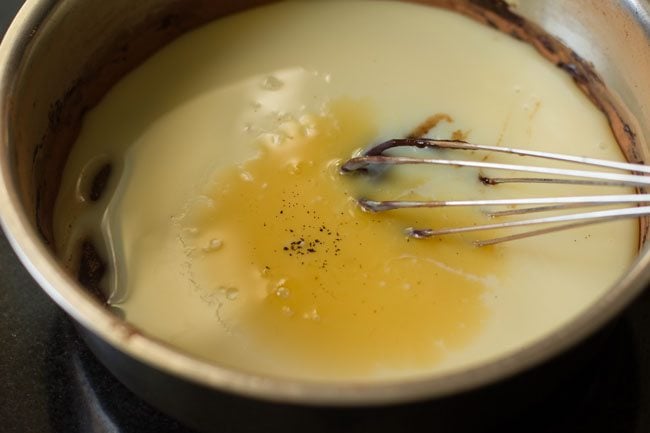
9. Mix very well and keep this mixture aside. Let this chocolate mixture cool at room temperature.
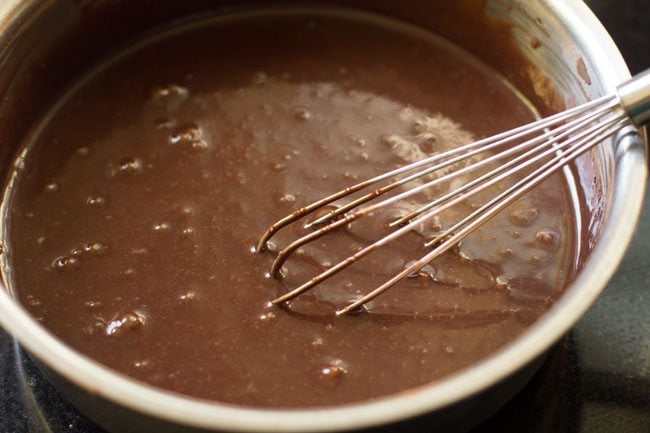
Whip Cream
10. Take 2 to 2.25 cups of the chilled whipping cream in a stand mixer and begin to whip it on high speed. You can also use an electric beater to whip using a bowl.
Make sure to refrigerate the bowl so that it is cold.
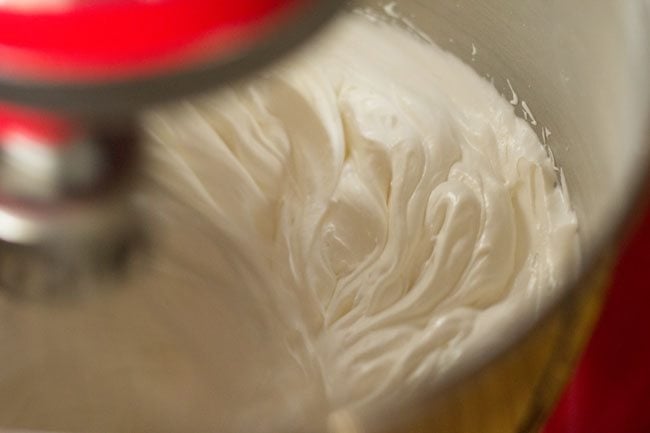
11. Whip till you get stiff peaks. The cream will increase in volume and when you turn the bowl down, the cream shouldn’t fall.
Or when you take the whipped cream in a spatula or spoon and turn it down, the cream shouldn’t fall.
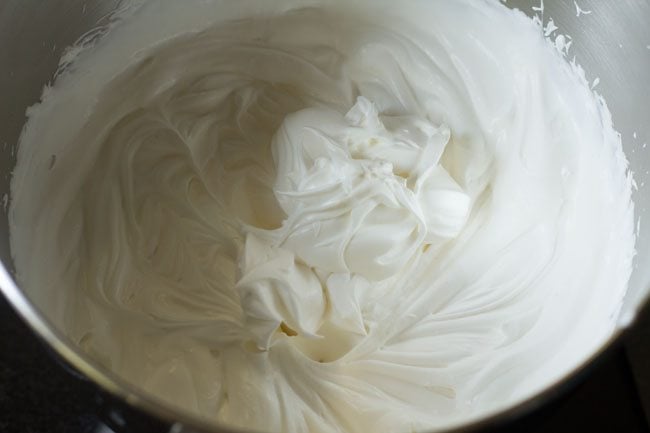
Make Chocolate Ice Cream
12. Then, add the prepared chocolate mixture.
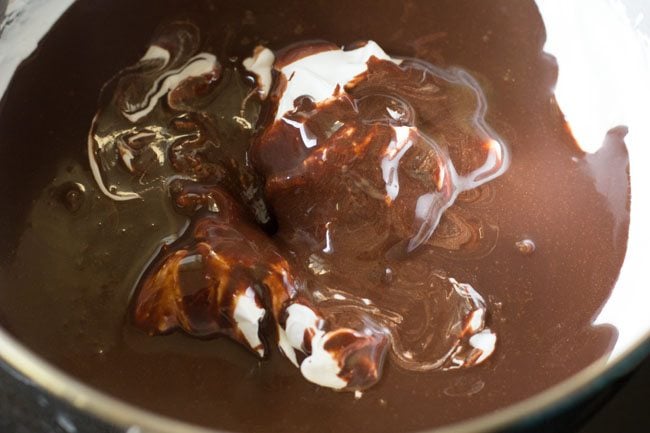
13. Now, gently and with light hands, fold the chocolate mixture in the whipped cream. Do not mix, just fold it.
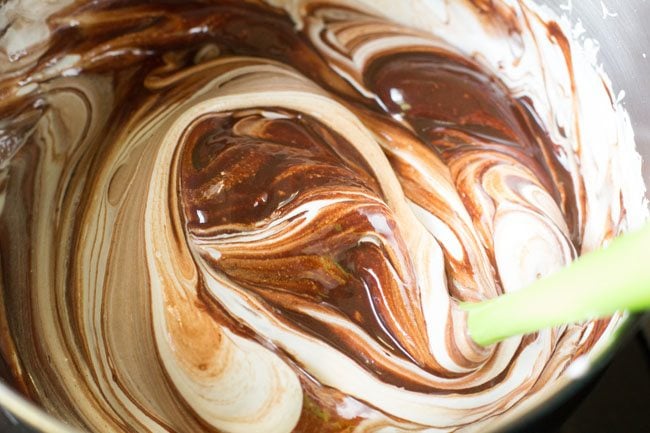
14. The cream should not loose its peaks or volume and fall flat. So, fold gently and slowly.
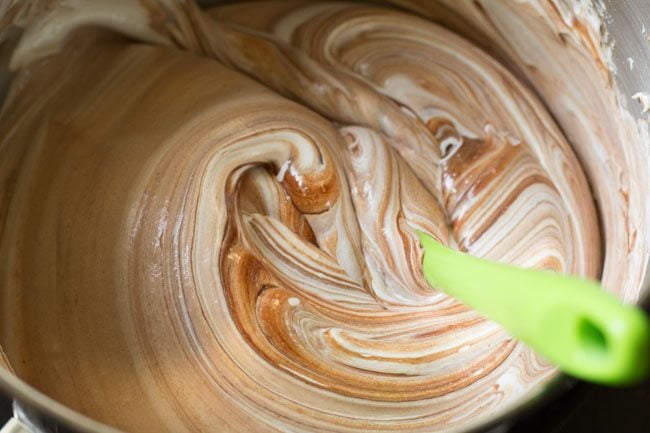
15. Fold very well.
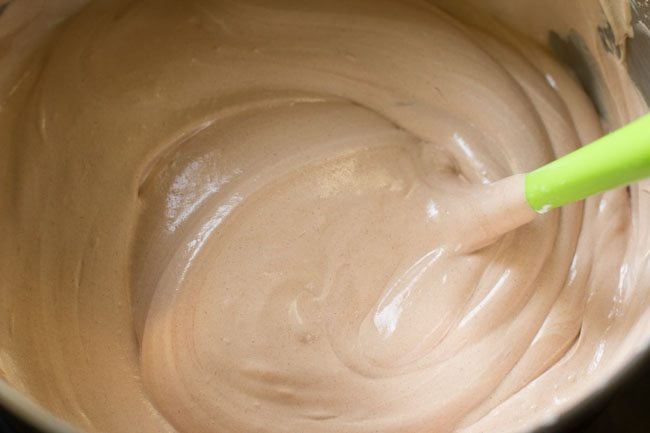
16. Now, add the ice cream mixture in a container or box.
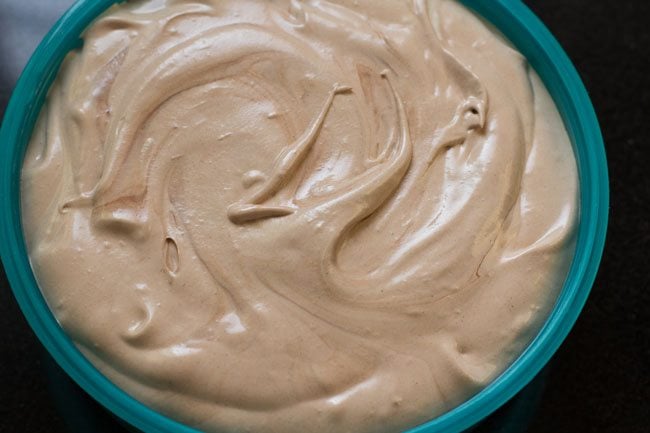
17. Close the container or box tightly with a lid and keep it in the freezer.
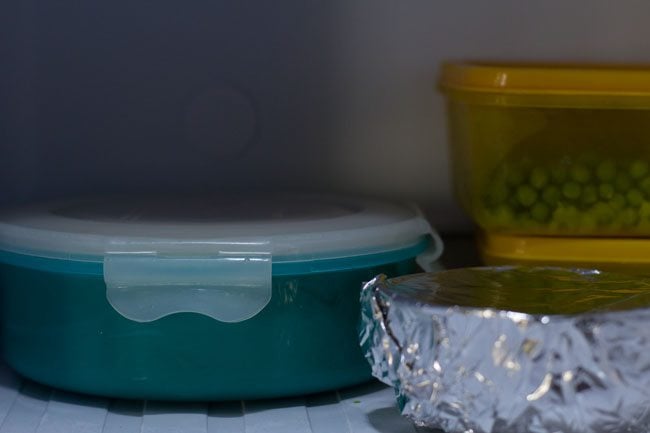
18. Freeze for 8 to 9 hours or overnight or till the ice cream is set.
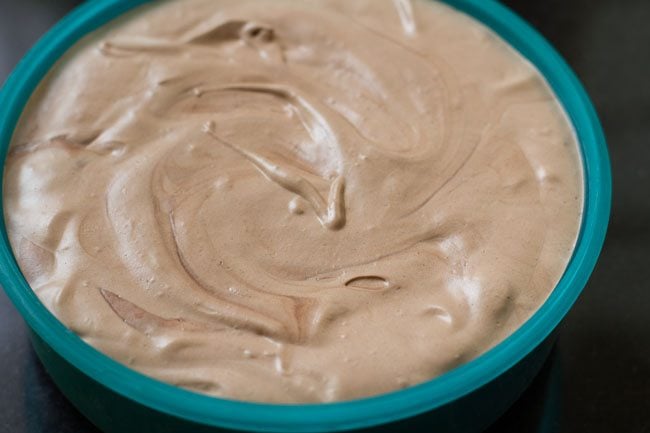
19. Before serving, remove the ice cream box from the freezer and let it sit at room temperature for a few minutes. Then, scoop out Chocolate Ice Cream with an ice cream scooper.
If you are not able to scoop the ice cream easily, then let the ice cream be at room temperature for 5 to 6 minutes. If its too hot where you live, then a couple of minutes is fine.
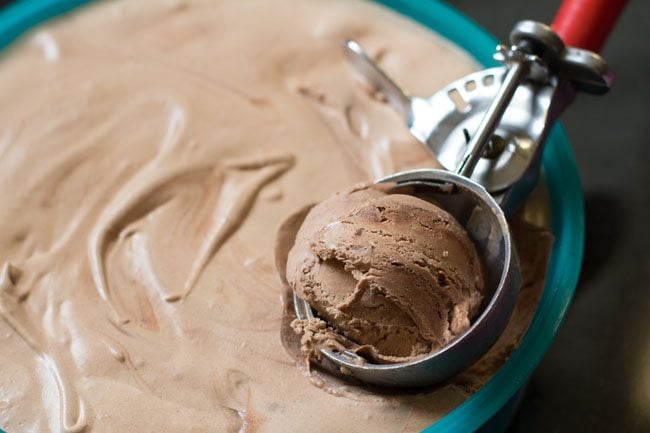
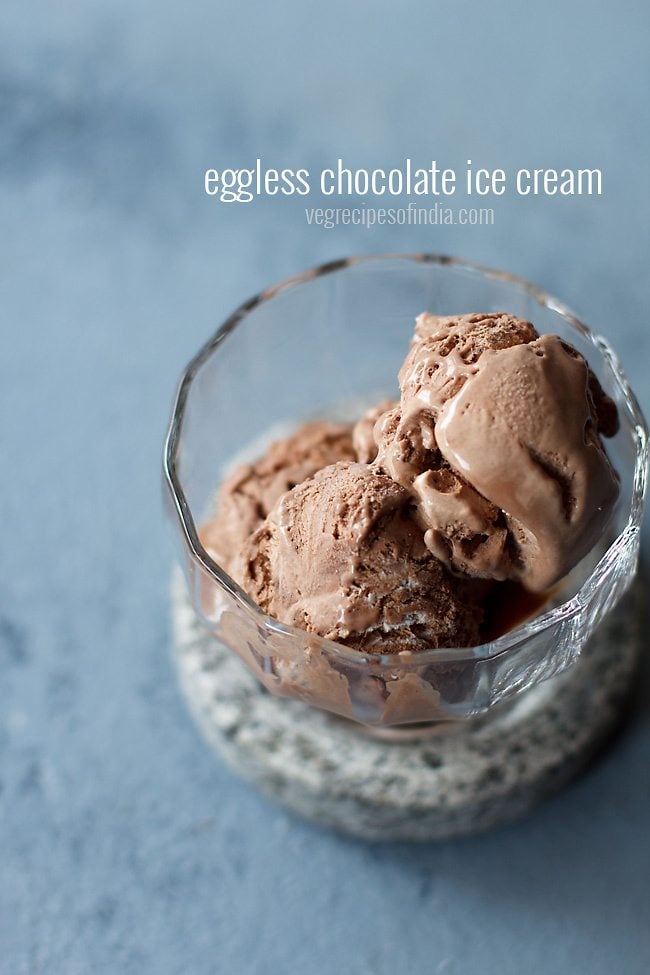
20. Serve Chocolate Ice Cream in bowls or cups. If you want, you can also drizzle some chocolate sauce on top.
Expert Tips
- You have to whip the cream till stiff peaks. The cream should increase in volume and shouldn’t fall from the bowl, when turned upside down. Another way to check is: Take the whipped cream in a spatula or spoon. When you turn it, it shouldn’t fall.
- This recipe uses whipping cream which is 30% fat and does whip till stiff peaks. If using 25% fat cream, then you can whip it till soft peaks. If you add icing sugar in this cream, then you can whip till stiff peaks.
- You can use the homemade clotted cream (malai) from milk to make the whipped cream. Remove the clotted cream from freezer and thaw it for some hours.
The cream should be chilled before you start whipping. Take everything in the blender jar and whip with the whipping blade till you get smooth cream.
If needed, you can add some water while whipping. To use immediately, keep whipping till stiff peaks are formed. If not, then refrigerate the smooth, flowing cream, whip later and use as required.
The whipping cream from homemade clotted cream is extremely rich because of high fat content. This results in whipped cream within minutes. - The same recipe can also be made in an ice cream maker and can be made with regular sugar too instead of the brown sugar.
- You have to fold the chocolate mixture with the whipped cream gently. Don’t mix it as this might cause the cream to fall flat after losing its peaks.
- In case you can’t scoop out the set ice cream, keep it at room temperature for 5 to 6 minutes. If you live in a place where it’s too hot, then only a couple of minutes is fine.
FAQs
The cream has to be chilled while you are whipping and you can whip for some more time to get the desired result. Soft peaks are also fine.
No. Both are different. Vanilla extract is a liquid and the other one is a powder.
You can use sweetened liquid evaporated milk. In case you don’t have a sweetened one, you can add sugar.
Yes, you can definitely do that. Refer to the Expert Tips above to know how to go about it.
This simply means that the cream has not enough fat content to form stiff peaks. Alternatively, keep the whipping bowl in the refrigerator for about 30 to 40 minutes and then start whipping again.
In case you see liquids or buttermilk in the whipped cream, then continue to whip till you see the water (whey) and butter separate. Remove the butter with a slotted spoon and keep it covered in the refrigerator. Use this as homemade butter.
In place of a stand mixer or electric beater, you can use a food processor with a whipping attachment or a blender/mixer/grinder with a round, unsharp whipping blade.
More Ice Cream Recipes To Try!
Dessert Recipes
Dessert Recipes
World Recipes
Dessert Recipes
Please be sure to rate the recipe in the recipe card or leave a comment below if you have made it. For more vegetarian inspirations, Sign Up for my emails or follow me on Instagram, Youtube, Facebook, Pinterest or Twitter.
Chocolate Ice Cream Recipe
Ingredients
- 2 to 2.25 cup whipping cream – 30% to 50% fat
- ¼ cup whole milk
- ½ cup cocoa powder
- ½ cup sweetened condensed milk
- ½ cup brown sugar (tightly packed) or regular sugar or half-half of both regular sugar or brown sugar
- 1 teaspoon vanilla extract or ½ teaspoon vanilla essence
Instructions
Making chocolate mixture
- First, prep all the ingredients and set them aside – whipping cream (30% to 50% fat), whole milk, cocoa powder, sweetened condensed milk and tightly packed brown sugar.
- Now, take milk in a small pan and add the brown sugar.
- Keep this pan on stovetop on low heat and with a whisk or spoon stir continuously till the sugar dissolves.
- Once all the sugar is dissolved, keep the pan on your kitchen counter. Remember not to boil the milk or heat it for a long time. Just lightly warm it or heat lightly to help the sugar dissolve.Do not boil or heat this milk and brown sugar mixture too much as this may lead to curdling or separating of the milk.
- When you see that all the sugar granules dissolve, remove the pan from stove-top and place it on your kitchen counter.
- Add cocoa powder and mix thoroughly ensuring that there are no lumps.
- Add the condensed milk and vanilla extract.
- Mix thoroughly again set this mixture aside. Let this chocolate mixture cool at room temperature.
Whipping cream
- Take chilled cream in a stand mixer and begin to whip it on high speed. You can also use an electric beater to whip.
- Whip till you get stiff peaks. The cream will increase in volume and when you turn the bowl down, the cream should not fall. So when you take the whipped cream in a spatula or spoon and turn it down, the whipped cream shouldn't fall.
Making chocolate ice cream
- Now, add the chocolate mixture to the whipped cream.
- Gently and with light hands, fold the chocolate mixture in the whipped cream. Do not mix, but fold it.
- The cream should not lose its peaks or volume and fall flat. So, fold gently and slowly, but very well to get an even mixture.
- Next, add the ice cream mixture in a container or box.
- Close the container or box tightly with a lid and keep the ice container or box in the freezer.
- Freeze for 8 to 9 hours or overnight or till the ice cream is set.
- Before serving, remove the ice cream box from the freezer and let it sit at room temperature for a few minutes. Then scoop out the ice cream with an ice cream scoop.
- If you are not able to scoop easily, then let the ice cream be at room temperature for 5 to 6 minutes. If its too hot where you live, then a couple of minutes is fine.
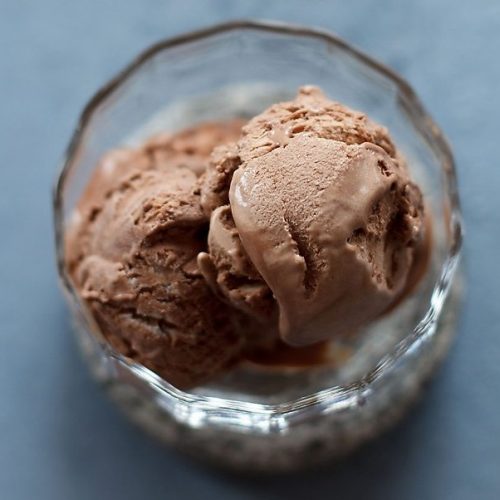
- Serve Chocolate Ice Cream in bowls or cups. If you want, you can also drizzle some chocolate sauce on top.
Notes
- Use whole milk and not toned or low-fat milk as these can split when mixing it with brown sugar.
- Instead of brown sugar you can use white sugar or confectioner’s sugar (powdered sugar). You can also use both the regular sugar and brown sugar in equal proportions
- Skip vanilla extract if you do not have it.
- To make the recipe, you can use light cream with 25% fat or whipping cream with 30% to 35% milk fat or heavy cream with 40% to 50% fat.
- Scale this recipe to make a big batch.
- Note that the approximate nutrition info is for 1 medium-sized chocolate ice cream scoop.
Nutrition Info (Approximate Values)
This Chocolate Ice Cream recipe from the archives first published in November 2016 has been republished and updated on April 2023.


Hi ma’am could you share a recipe for ice cream cake?
Yes will try. In my to do list.
Thank you so much Dassana for sharing your wonderful recipes. I have tried many of your dishes and they are always appreciated by my family..its my first time to try out the chocolate icecream and it’s just delicious. Loved your chocolate cake recipe too. Looking forward to trying out more homemade icecreams.
Thank you Nisha. Glad to know that the chocolate ice cream turned out good. Thanks for the feedback on the other recipes as well. Do try some more homemade ice cream recipes from the blog and you will like them. Most welcome.
I used amul cream for the chocolate ice cream but after whipping it did not form stiff peaks.please advice
the cream has to be chilled and cold. try whipping for some more time. even if you get soft peaks it is fine.
I tried this recipe with Amul fresh cream instead of whipping cream. It was excellent. My 6 year old daughter simply loved it. Thank you for posting such a easy quick and chemical free recipe.
thank you sailaja for this review and rating. glad to know that your daughter loved the chocolate ice cream. welcome.
Is venllina extract n venllia powder same?
vanilla extract is different from vanilla powder. one is a liquid and the other is in the powder form. in vanilla powder also you get artificially flavored powder which is like a white powder and a black or brown colored powder which consists of just the vanilla seeds.