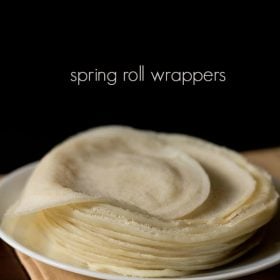
Next time you’re thinking of making crunchy, munchy Spring Rolls, don’t buy the wrappers or sheets from the market. Instead, follow this recipe of Spring Roll Sheets, also known as Spring Roll Wrappers and make them too at home. The method is quite easy, all you’ve got to do is refer to each step precisely. Go for it!
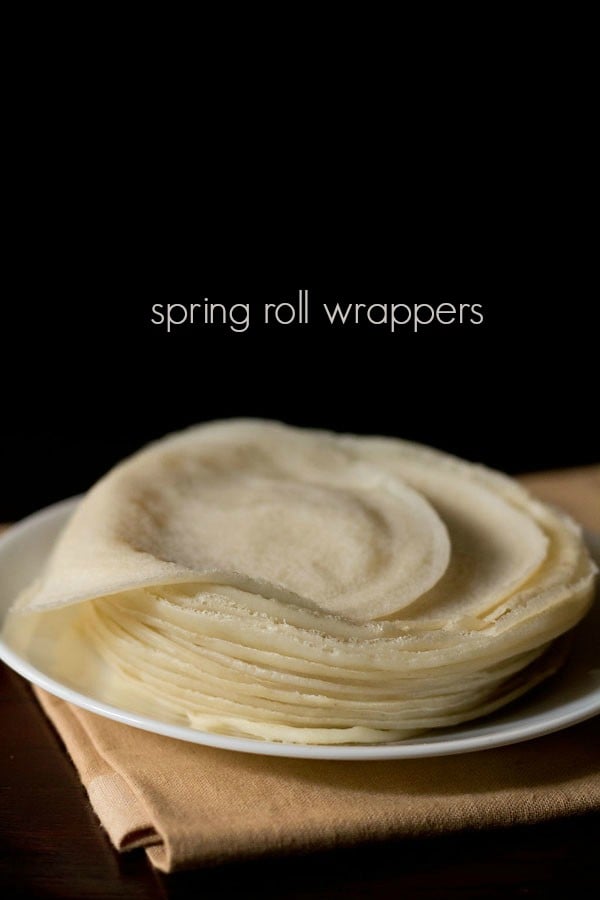
Table of Contents
About Spring Roll Sheets
Spring rolls are a favorite for many of us. So, why not make the Spring Roll Wrappers too at home and enjoy this popular snack, made from the scratch.
The procedure that I have chosen to make these Spring Roll Sheets is by following the batter method.
I referred to my cooking school notes for both the recipe of the wrappers as well as the spring rolls. This is exactly how I had started making these after learning for the first time in my college years.
I have more of such recipes, still saved with me. This is a collection that I’ll always cherish.
Later, I did try making these Spring Roll Sheets with the dough method as well. But I concluded that the wrappers made with the batter method had a better texture when fried as compared to ones made with dough.
You will have to have some good time in hand to make these Spring Roll Wrappers, as making these is time-consuming.
But I’m guaranteeing you that it is all going to be worth the effort. I usually prepare these wrappers a day before I make the spring rolls.
I have used all-purpose flour to make these Spring Roll Sheets as with whole wheat flour I was not able to get the desired result. The whole wheat ones were breaking when stuffed with the vegetables.
These take time to get done, yet are not difficult to make. Just make a mind note of a few important points and begin with the process.
Go through the tips in the sections below and become a pro in making these wrappers as well as spring rolls.
This recipe yields such good wrappers that they taste exactly the same as the ones that are available at the best of Chinese restaurants across the country.
Another good thing about these sheets is that these can be used to make samosa and other types of fried rolls too.
With these measurements, you can make some 26 to 28 sheets. To make more, you will have to double the recipe.
You can refrigerate the wrappers for about 7 days. If you freeze them, then for a month.
How to make Spring Roll Sheets
Make Batter
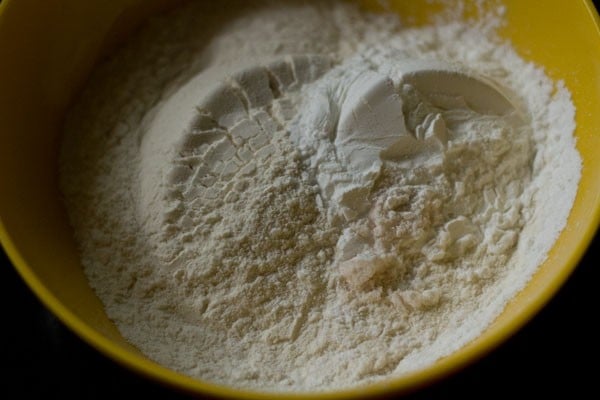
1. In a bowl, take 1 cup all-purpose flour (maida), 3 tablespoons cornstarch and ¼ teaspoon salt or add according to taste.
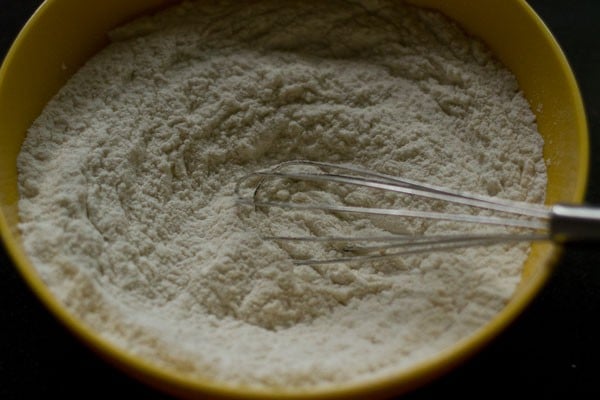
2. With a wired whisk or spoon, mix the dry ingredients.
3. Add 1.25 cups water.
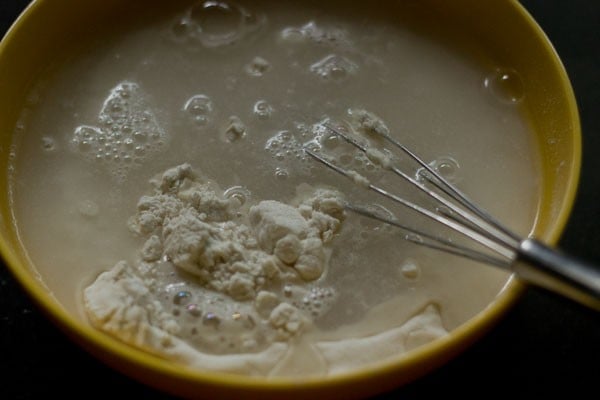
4. Whisk well to a get smooth and slightly thin batter without any lumps.
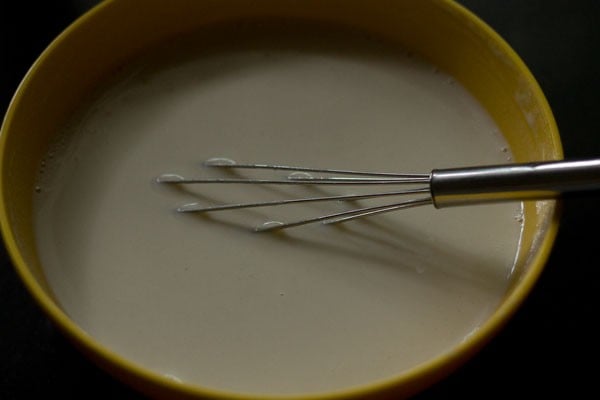
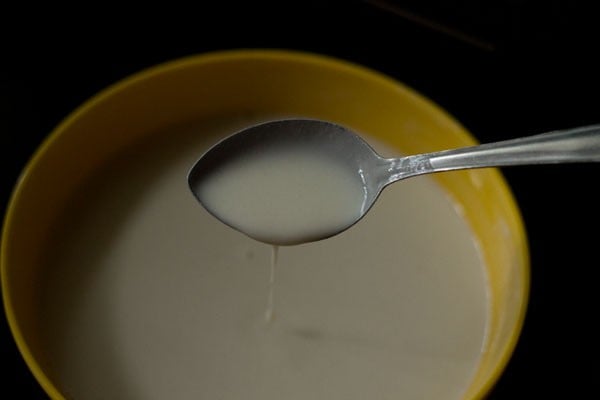
5. The batter should be of flowing consistency. Depending on the quality of flour, you can add less or more water.
If the batter consistency is on the thinner side, then add a few tablespoons of all-purpose flour. If thick, then add a few tablespoons of water.
You can come to know the consistency when you spread the batter on the pan. If it is runny on the pan, this means that the batter is thin.
Make Spring Roll Sheets
6. Heat a non-stick flat pan or a well-seasoned cast iron skillet on low heat. The pan should become slightly hot and not too hot.
With a paper tissue or a small piece of kitchen towel dipped in oil, grease the pan. For non-stick, you can skip oil. But if you feel the wrappers are sticking, then grease or brush the pan with oil.
You can also opt to use a cast iron or steel pan. But make sure they are seasoned. Also do not use a heavy weight pan as you have to lift it everytime you make the wrappers.
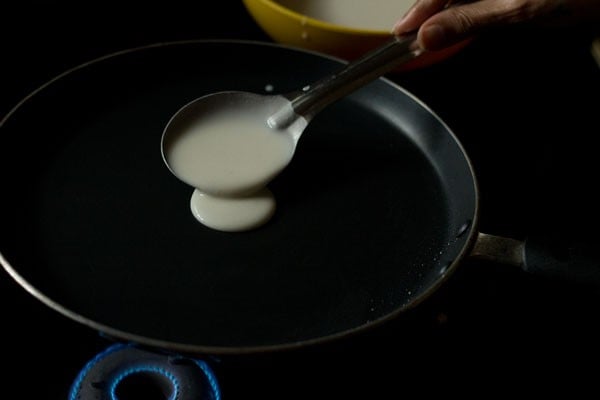
7. Now lift the pan above the stovetop burner. Add 2 tablespoons of the batter at once in the pan. Every time you have to lift the pan from the stovetop and spread the batter.
If you keep on the stovetop and spread, you cannot do it properly. As the batter gets cooked before you spread it.
You can also rotate and tilt the pan for the batter to spread. I am not so good in rotating the pan, so I spread the batter with the spoon.
In the spoon I used, 2 tablespoons of the batter filled perfectly. You can also add 3 to 4 tablespoons of the batter in the pan. In this case, the springs rolls will be slightly large to large.
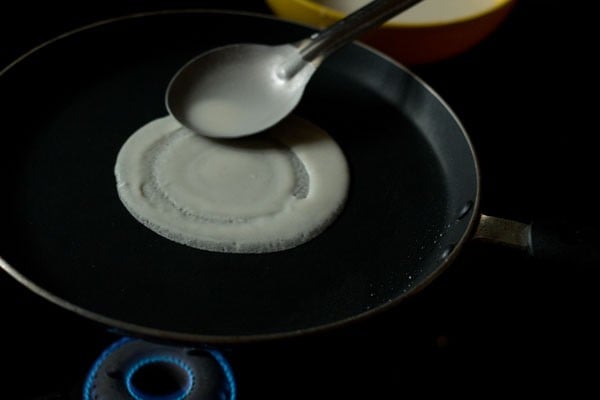
8. While still holding the pan, gently, spread the spoon clockwise to make a small thin crepe. Similar to the way we make crepes or Dosa.
Add 1 to 2 tablespoons more water if the batter becomes thick while preparing the wrappers.
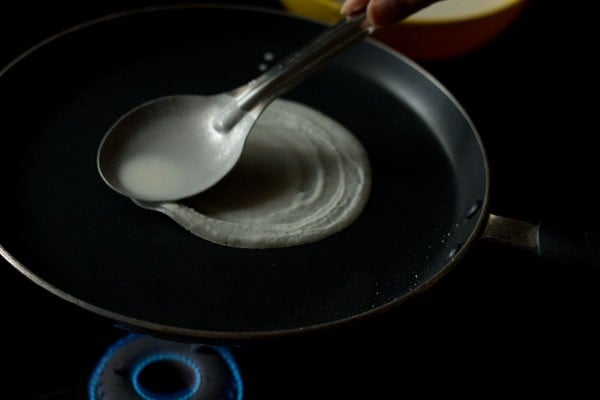
9. Keep the pan back on the stovetop. Remember that the crepes (spring roll sheets) have to be thin. If they become thick, then they will break while rolling and sealing.
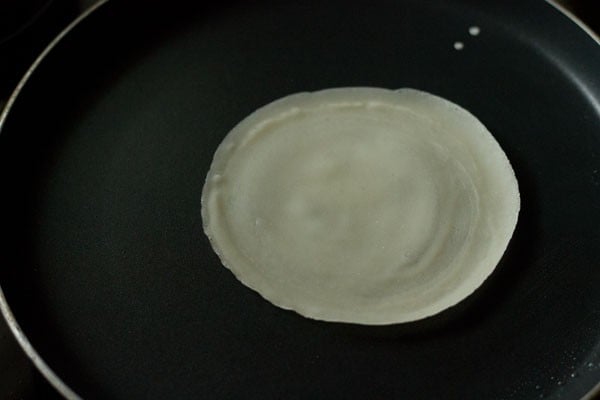
10. Now, on low heat, cook the crepe till the sides start curling up and the crepe becomes kind of translucent.
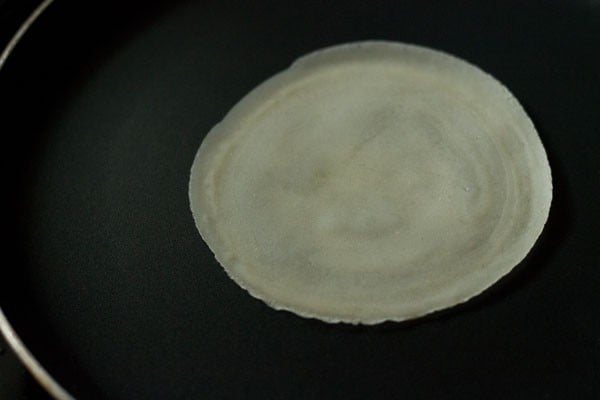
11. The crepe just needs to be about cooked. No need to flip and cook the other side. Just cook one side. Lift the crepe with a spatula.
Remember not to overcook. This will result in the wrappers being dry, chewy and it will not to be easy to roll or wrap them.
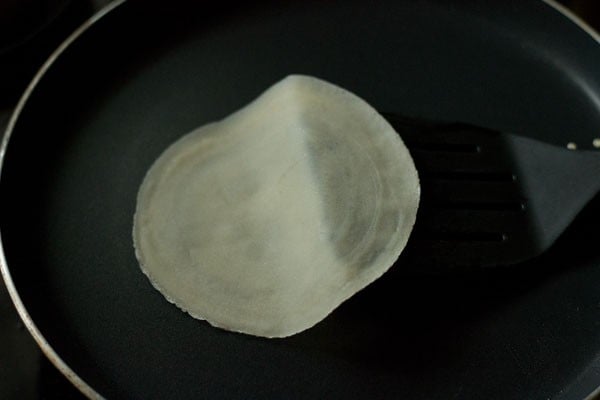
12. Place the Spring Roll Wrappers on a tray or plate with the cooked side facing you.
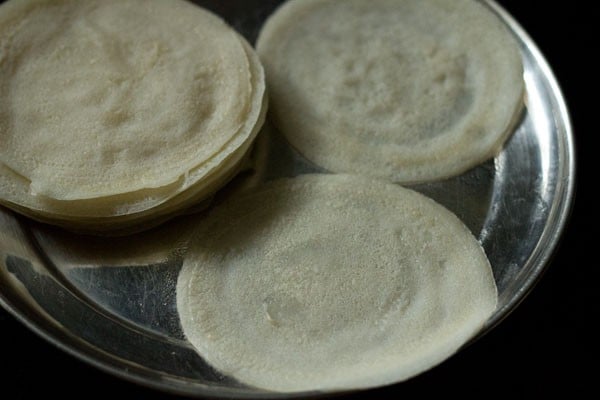
13. Allow the Spring Roll Sheets to cool and then only stack them with the cooked side on top. Keep them covered in a small casserole or bowl.
Prepare more sheets this way in batches.
Remember not to stack the wrappers while still hot as they will stick and cling on each other.
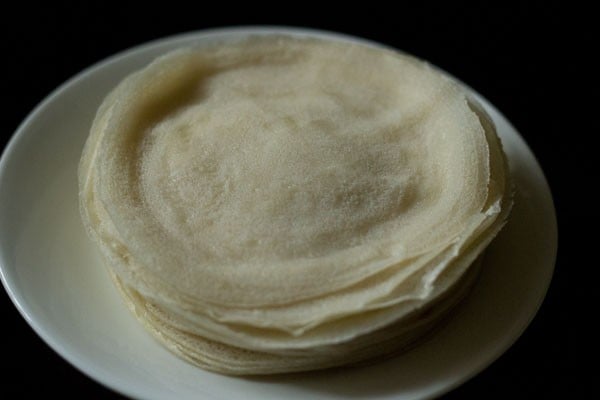
14. Here all the Spring Roll Sheets are ready. Once they cool to room temperature, you can start making spring rolls. Or else keep them covered in a container in the refrigerator.
While refrigerating, place parchment paper or butter paper between two sheets, so that they can be separated easily.
You can store these sheets either in the refrigerator or in the freezer. In the refrigerator, these wrappers stay good for a week and in the freezer up to a month.
After removing them from the freezer, thaw them completely to room temperature before using.
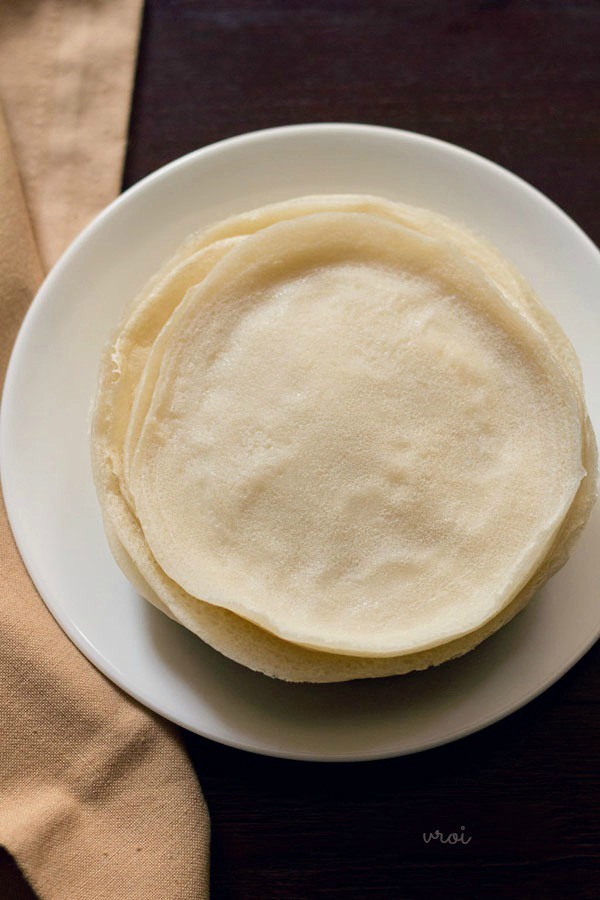
Expert Tips for Spring Roll Sheets
- The batter that you make for these wrappers has to be a lump-free and flowing one. Alter the quantity of water as per the quality of flour.
- Substitutes for cornstarch in the batter are: tapioca starch, potato starch and arrowroot flour.
- In case the batter turns thick while preparing the Spring Roll Sheets, add 1 to 2 tablespoons more water in the batter.
- The crepes that you spread on the pan to make the sheets, should be thin. Making them thick can cause breaking of the wrappers while rolling and sealing.
- The crepes (Spring Roll Wrappers) have to be just about cooked on one side. Flipping and cooking the other side is not required. Overcooking will make them dry, chewy and difficult to roll and seal.
- You can use the Spring Roll Sheets to make spring rolls once they cool down to room temperature. If not, put them in a container with a parchment/butter paper in between two sheets. Then, refrigerate to use up to 7 days or freeze to use up to a month.
FAQs
You can add potato starch, tapioca starch or arrowroot flour.
Try frying on medium-high heat. This way the spring rolls won’t be oily.
Place parchment or butter paper between two wrappers or sheets, put them in a container and store in the refrigerator till further use. This way the wrappers stay good for a week. If you freeze them, they will stay good up to a month.
Yes, you can use these wrappers to make small to medium size samosas, not large ones.
The cornstarch acts as an egg substitute in this recipe.
More DIY Recipes To Try!
DIY & Collections
Dessert Recipes
DIY & Collections
DIY & Collections
Please be sure to rate the recipe in the recipe card or leave a comment below if you have made it. For more vegetarian inspirations, Sign Up for my emails or follow me on Instagram, Youtube, Facebook, Pinterest or Twitter.
Spring Roll Sheets | Spring Roll Wrappers Recipe
Ingredients
- 1 cup all-purpose flour (maida)
- 3 tablespoon cornstarch (also known as corn flour in India)
- 1.25 cups water or as required to make a flowing batter with a slight thin consistency
- ¼ teaspoon salt
- 1 to 2 teaspoons oil for making the wrappers
Instructions
Making batter
- In a bowl, take the all-purpose flour (maida), cornstarch and salt.
- With a wired whisk or a spoon mix the dry ingredients.
- Add water.
- Whisk well to a get smooth and slightly thin consistency of the batter without any lumps.
- The batter should be of a flowing consistency. Depending on the quality of flour, you can add less or more water.
Making spring roll wrapper
- Now on a low flame, heat a nonstick pan. The pan should just become slightly hot and not too hot. You can also use a cast iron or steel pan. But make sure they are well-seasoned.
- With a paper tissue or a small piece of kitchen towel dipped in oil, grease the pan. For the nonstick pan you can skip greasing with oil. But if you feel the wrappers are sticking then grease or brush the pan evenly with oil.
- Now lift the pan above the stovetop burner. Add 2 tablespoons of the batter at once in the pan. So use a spoon in which 2 tablespoons of the batter can fit in. You can also make larger sized wrappers using 3 to 4 tablespoons of the batter.
- Gently, spread the spoon clockwise to make a small thin crepe. Similar to the way we make dosa. Now keep the pan on the stovetop on a low heat. Add 1 to 2 tablespoons more water if the batter becomes thick while preparing the wrappers.
- Do remember that the crepes have to be thin. If they become thick, then they break while rolling and sealing.
- On a low heat cook the crepe (spring roll wrappers) till the sides start curling up and the crepe becomes kind of translucent.
- The crepe just need to be about cooked. No need to flip and cook the other side. Just cook one side.
- Lift the spring roll wrapper with a spatula.
- Place the spring roll wrapper in a tray or plate with the cooked side facing you.
- Make the spring roll sheets in batches this way.
- Allow the spring roll sheets to cool first and then stack them with the cooked side on top. Keep them covered in a small casserole or bowl, so that they do not dry out.Do not stack them when they are hot, as they will stick to each other.
Storage
- Once the spring roll wrappers come at room temperature, you can start making the spring rolls. Or else keep them covered in a container in the fridge.
- When keeping in the fridge, place parchment paper or butter paper between two sheets, so that they can be separated easily.
- You can also keep these spring roll sheets either in the fridge or in the freezer.
- In the fridge, these wrappers stay good for a week and in the freezer up to a month. After removing from the freezer, thaw them completely at room temperature before using.
Notes
- The batter that you make for these wrappers has to be flowing, slightly thin, smooth and without lumps. Adjust the quantity of water as per the texture and quality of flour.
- Swap cornstarch with tapioca starch, potato starch and arrowroot flour.
- In case the batter turns thick while preparing the wrappers, add 1 to 2 tablespoons more water in the batter.
- The crepes that you spread on the pan to make the sheets, should be thin. Making them thick can cause breaking of the wrappers while rolling and sealing.
- The wrappers have to be just about cooked. Cooking them for more time or overcooking will make them dry, chewy and difficult to roll and seal.
- Try not to use a heavy weighted pan or skillet as you will have to lift it every time you make the wrappers.
- The recipe can be doubled or tripled.
Nutrition Info (Approximate Values)
This Spring Roll Sheets recipe from the archives, originally published in October 2015 has been updated and republished on January 2023.


I loved this so much! Thank you for the recipe, it was a huge success at home 🤗
Thanks and nice to know.
This is what I have been looking for. Thanks.
I will try and see how it works.
Sure Emini. Do let us know how the wrappers turned out